

Introduced in the 1960’s, the law requires that everyone on the road who uses a vehicle – which is over three years old – has to keep it in a ‘roadworthy’ condition at all times – the annual MOT tests this.
Peter McDowell, owner of MOT testing centre, A.E. Wildmans & Son, said, “The MOT checks that the vehicle is fit for the road that day, it’s the minimum standards that it needs to reach to be classed as roadworthy. Bear that in mind as it doesn’t always mean it will be roadworthy until the next test.”
Enjoy everything More Bikes by reading monthly newspaper, Read FREE Online.
Around the country, there are over 2000 workshops authorised to carry out the MOT test. There are set maximum prices for different MOTs (bike, car, lorry), and each garage will display their costs clearly. Each of the personnel carrying out the tests, have been on a training course with the Vehicle and Operator Services Agency (VOSA) and their test results are checked regularly, to give you peace of mind and ensure you get a fair test.
If you own a vintage or classic machine, or one fitted with a sidecar then the MOT will differ.
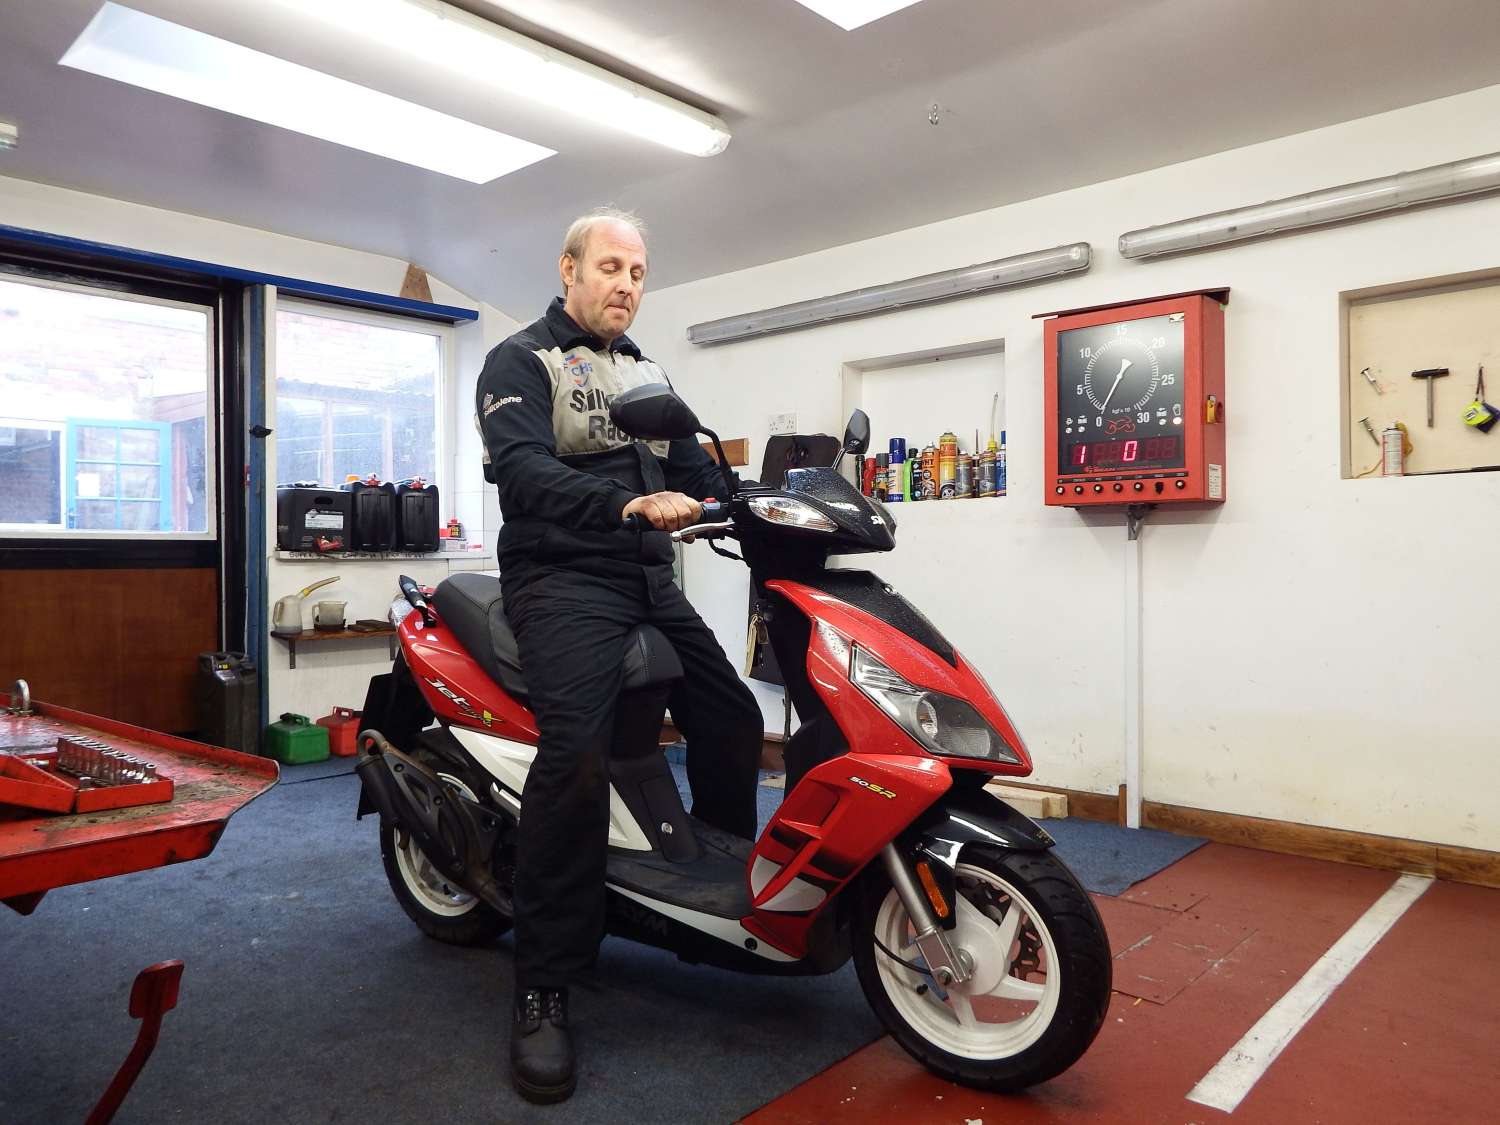
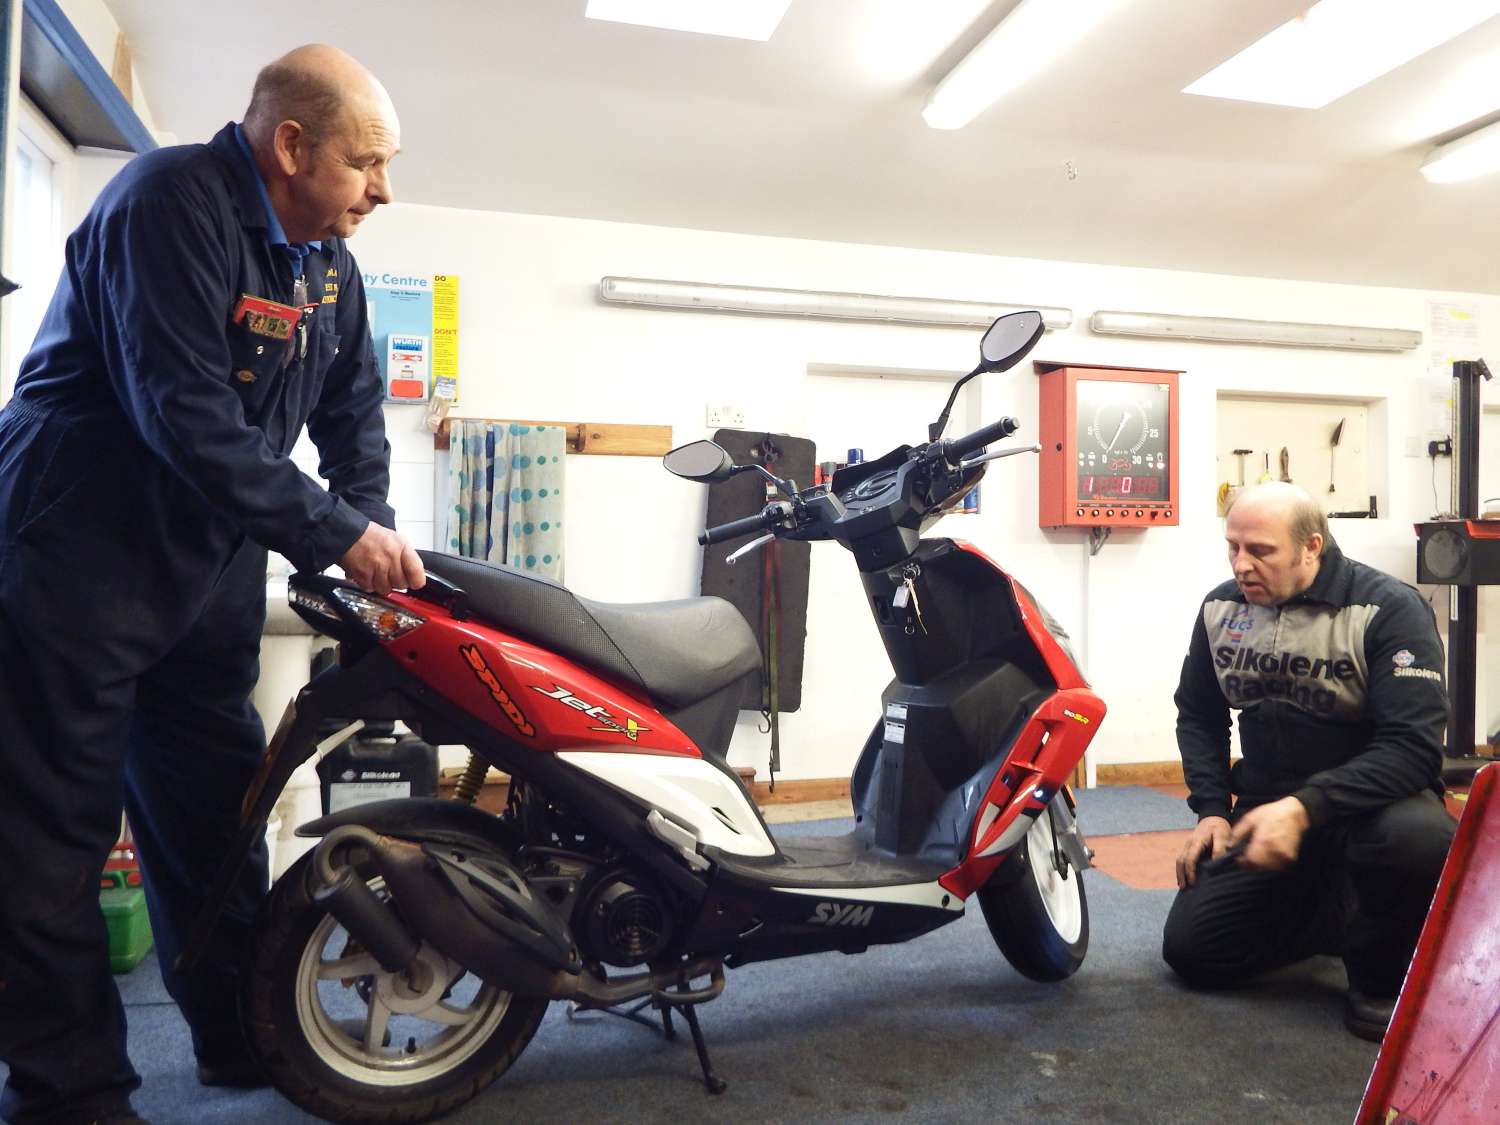
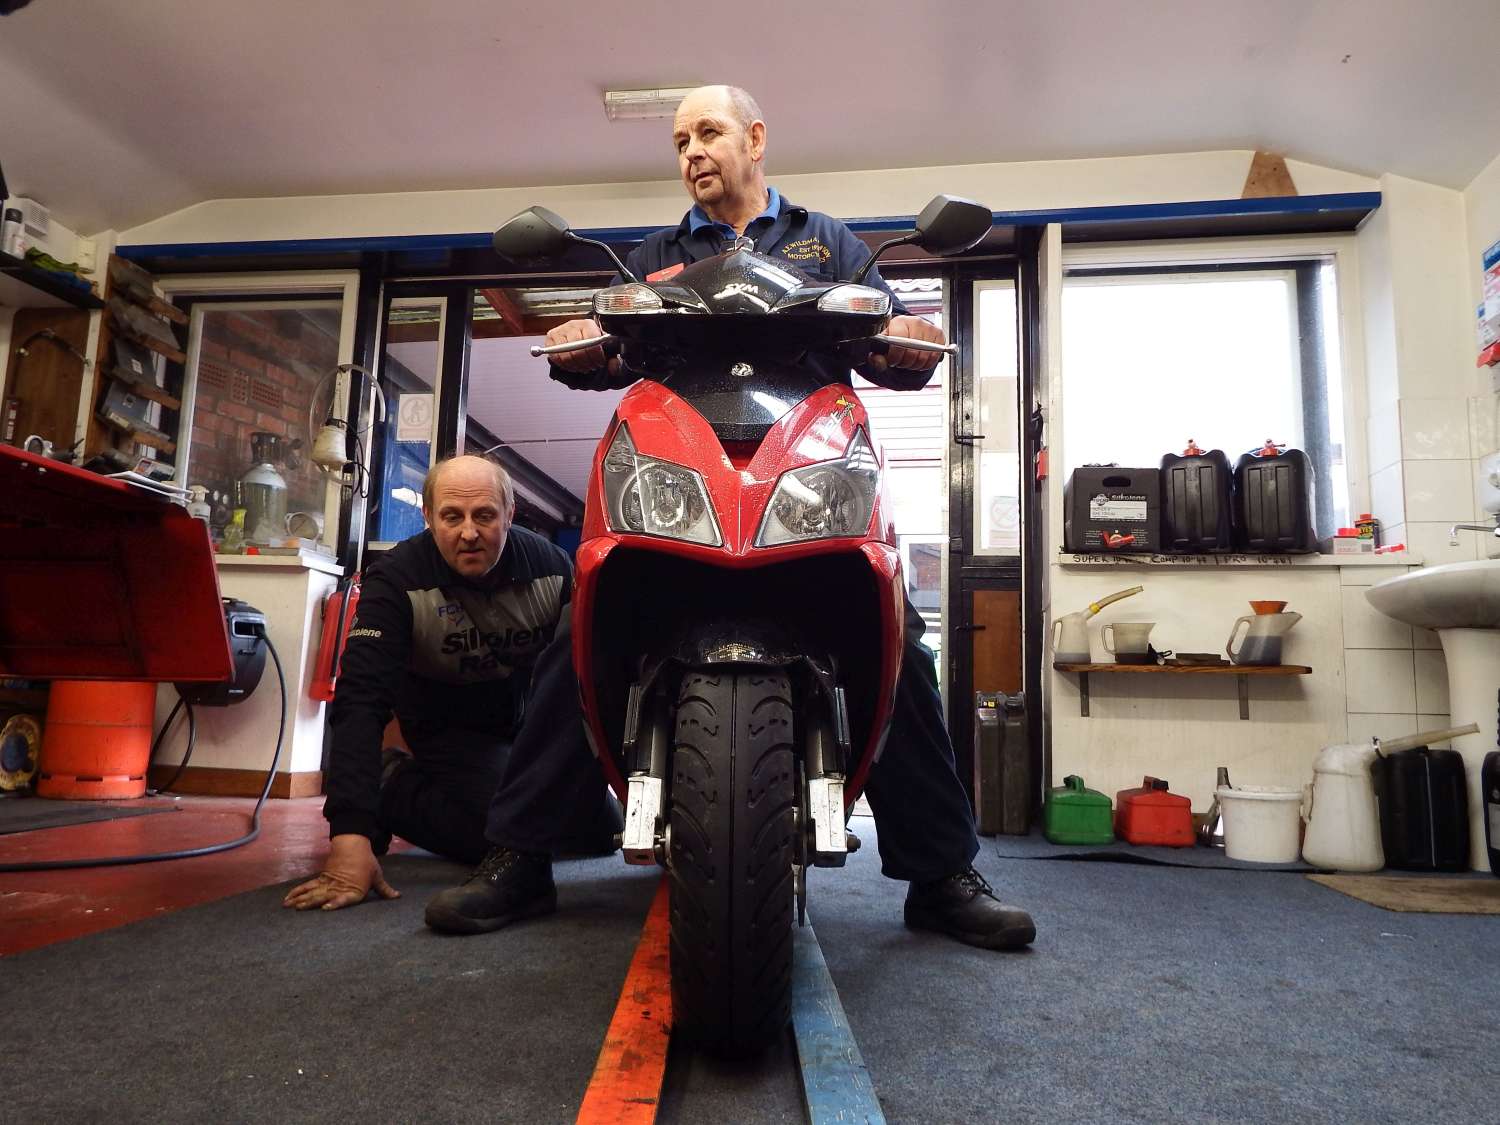
Peter let us behind the scenes in his workshop to see what happens behind the scenes when a bike or scooter comes in for test and is tested by Alan, an MOT tester with over 30 years’ experience…
1. The first job is to write down the registration number, mileage and VIN Number. The tester then logs onto the computer with their individual log in details.
2. They then sit on the machine and turn the handlebars from lock to lock – feel the lower head bearings and check that the steering stops.
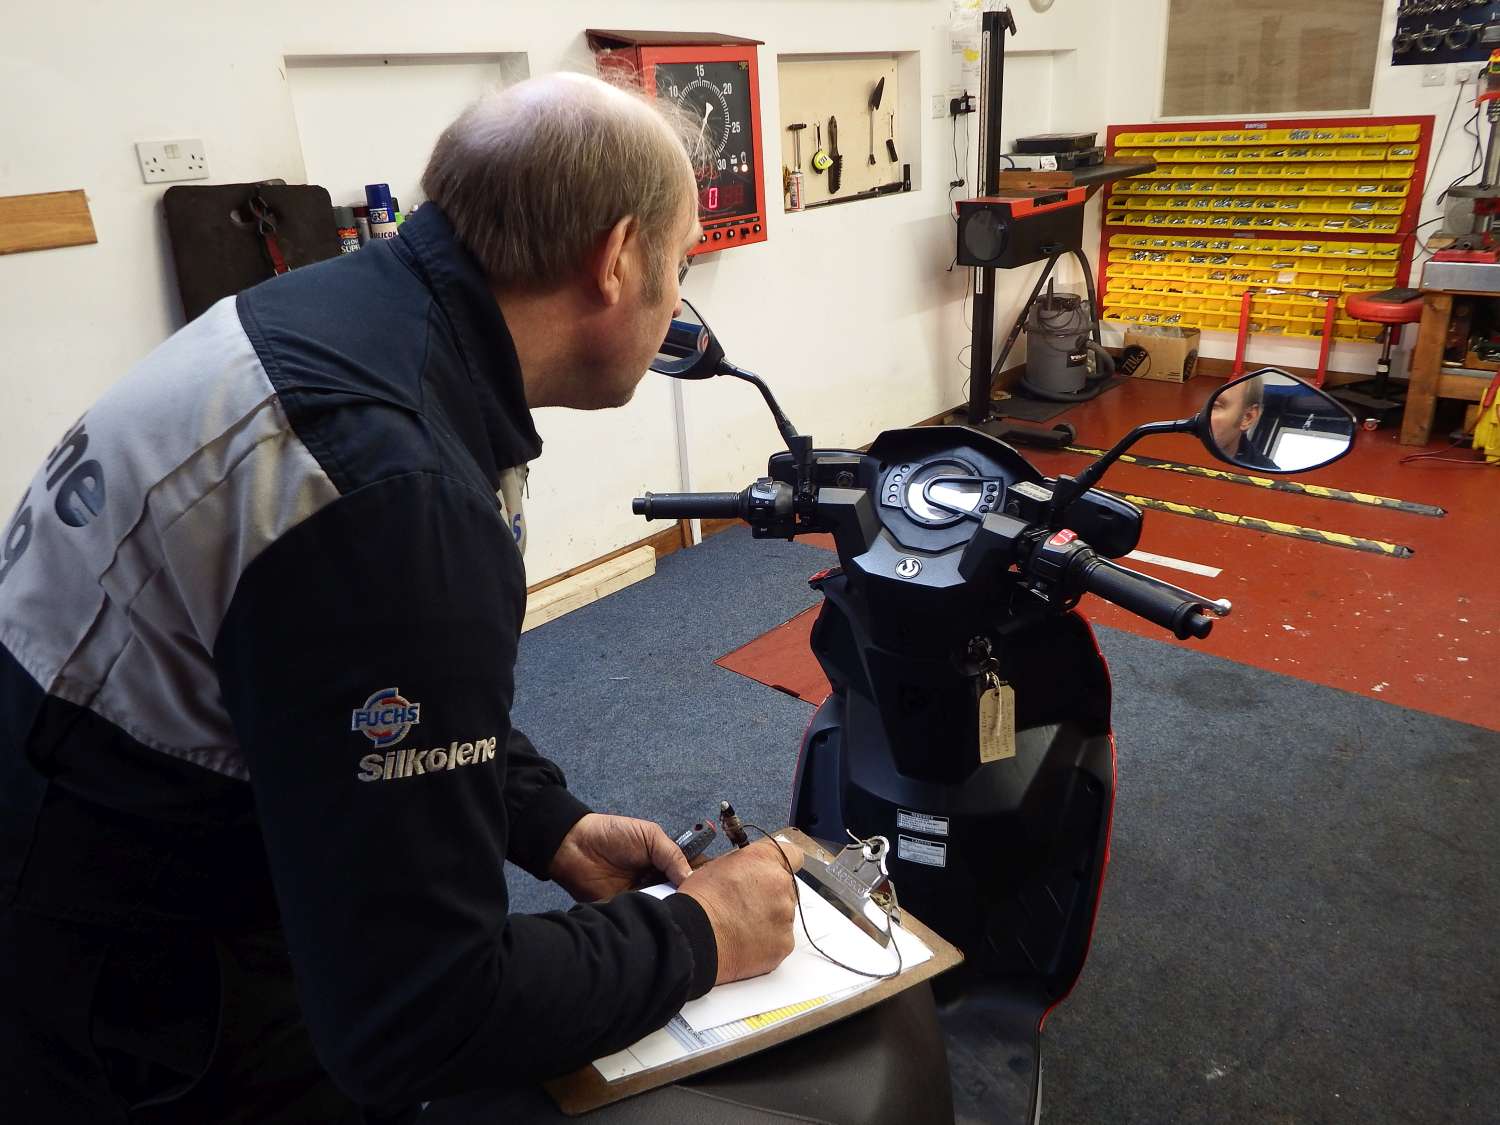
3. The controls are then checked in each lock – including the brake & clutch. The security of the handlebars, grips, switches and levers is also checked. With the ignition on – the switches, lights (high beam and low beam) and indicators are tested.
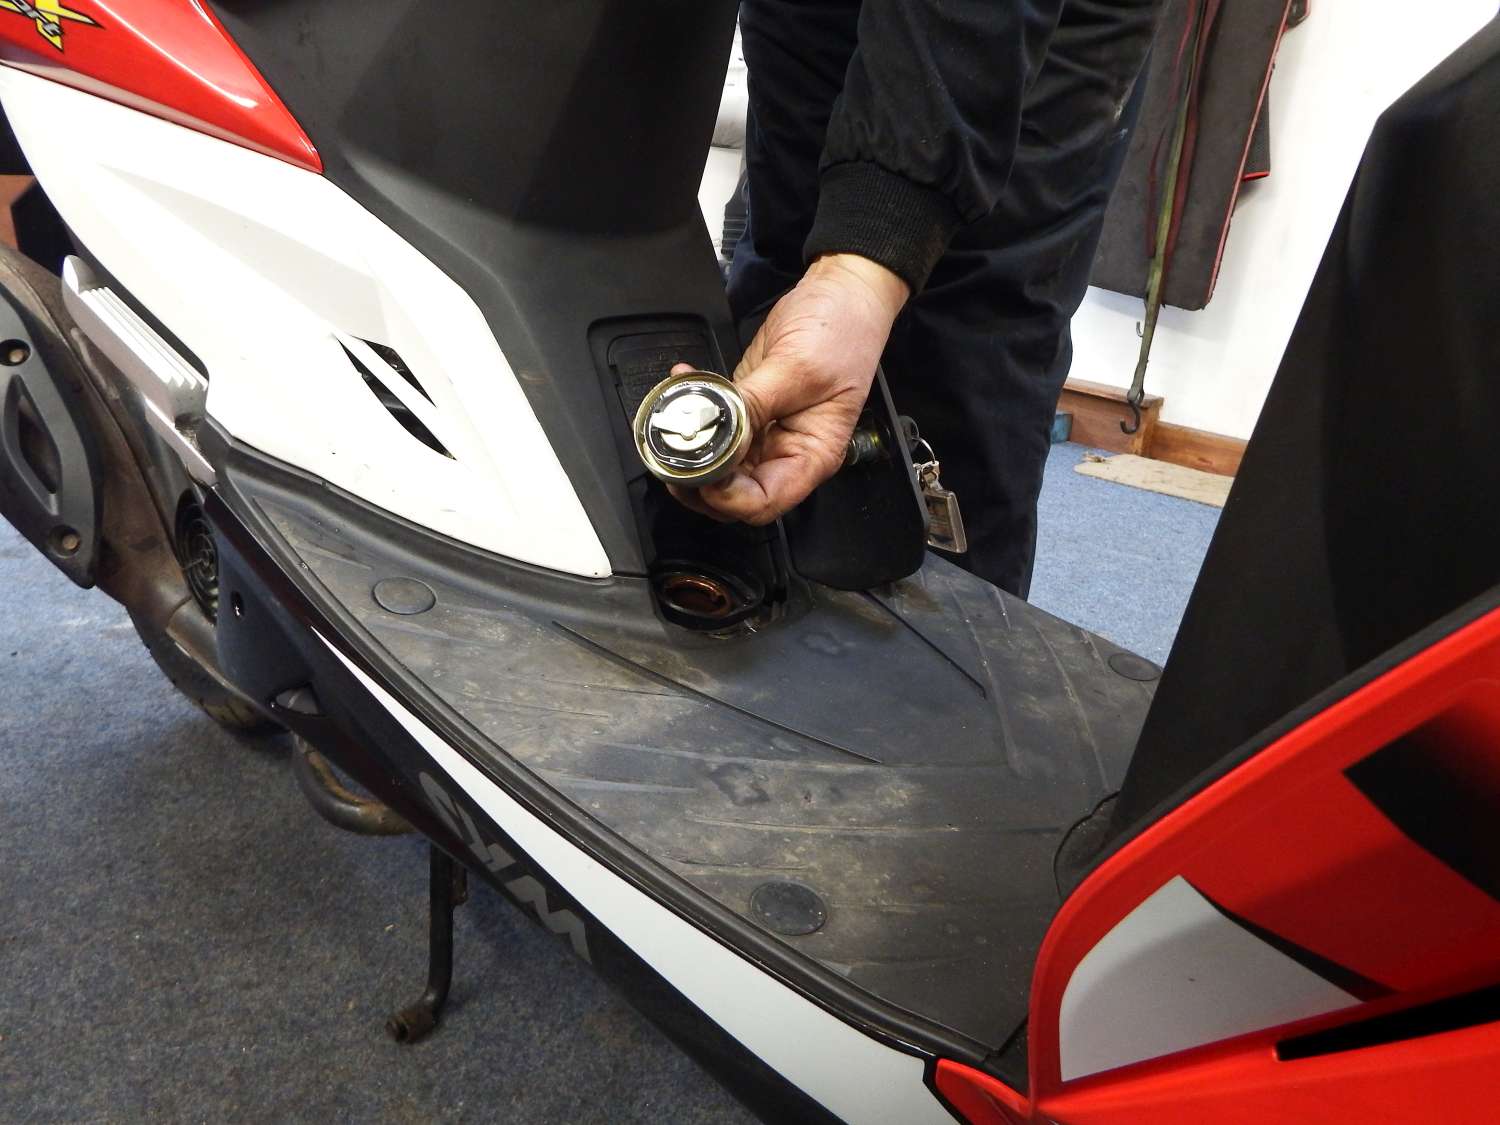
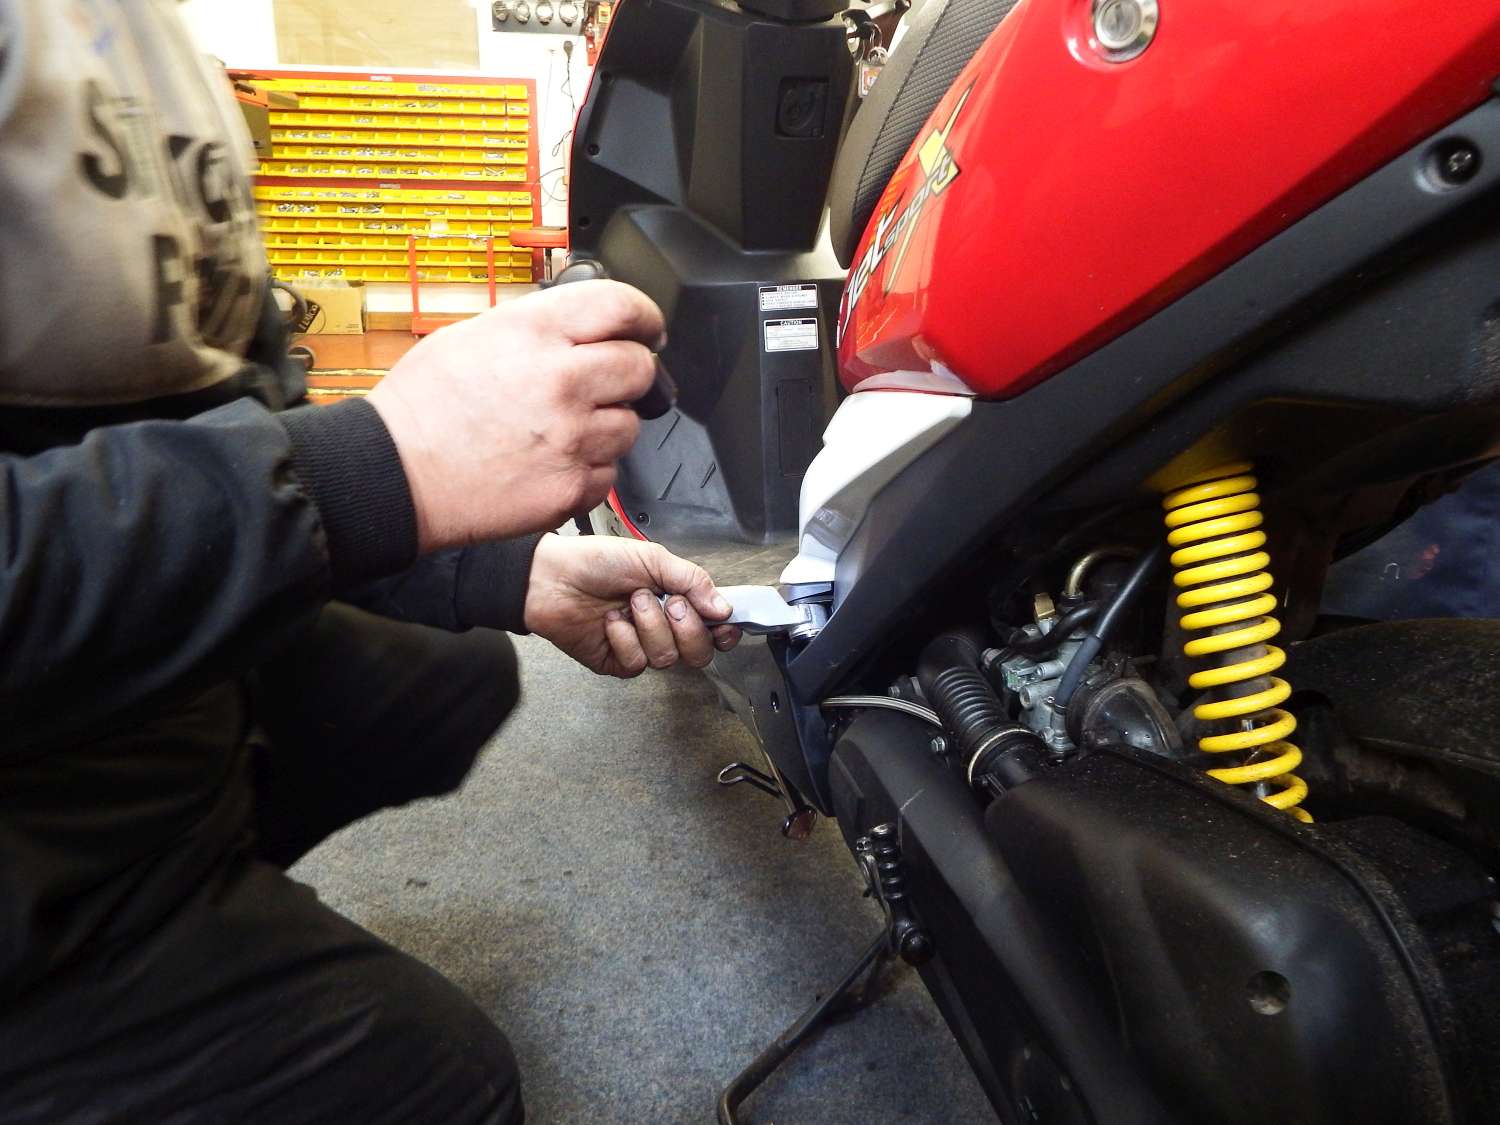
4. The ignition is then switched off and key removed. The petrol cap seal is checked that it is in good condition.
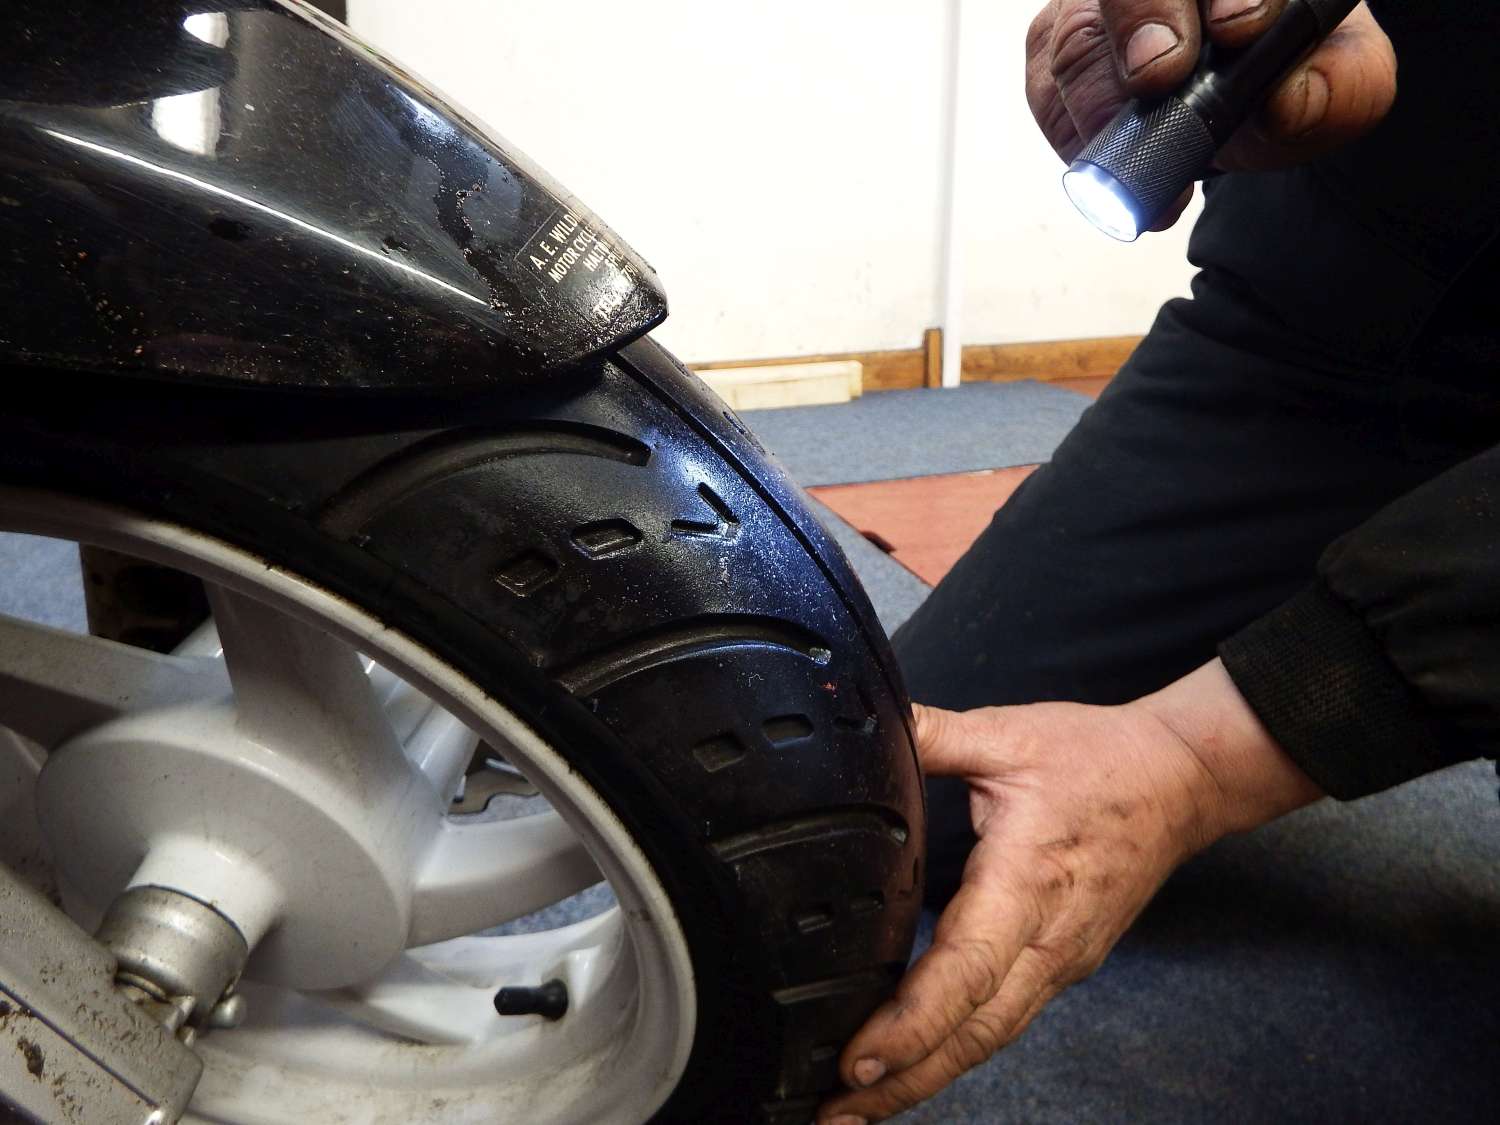
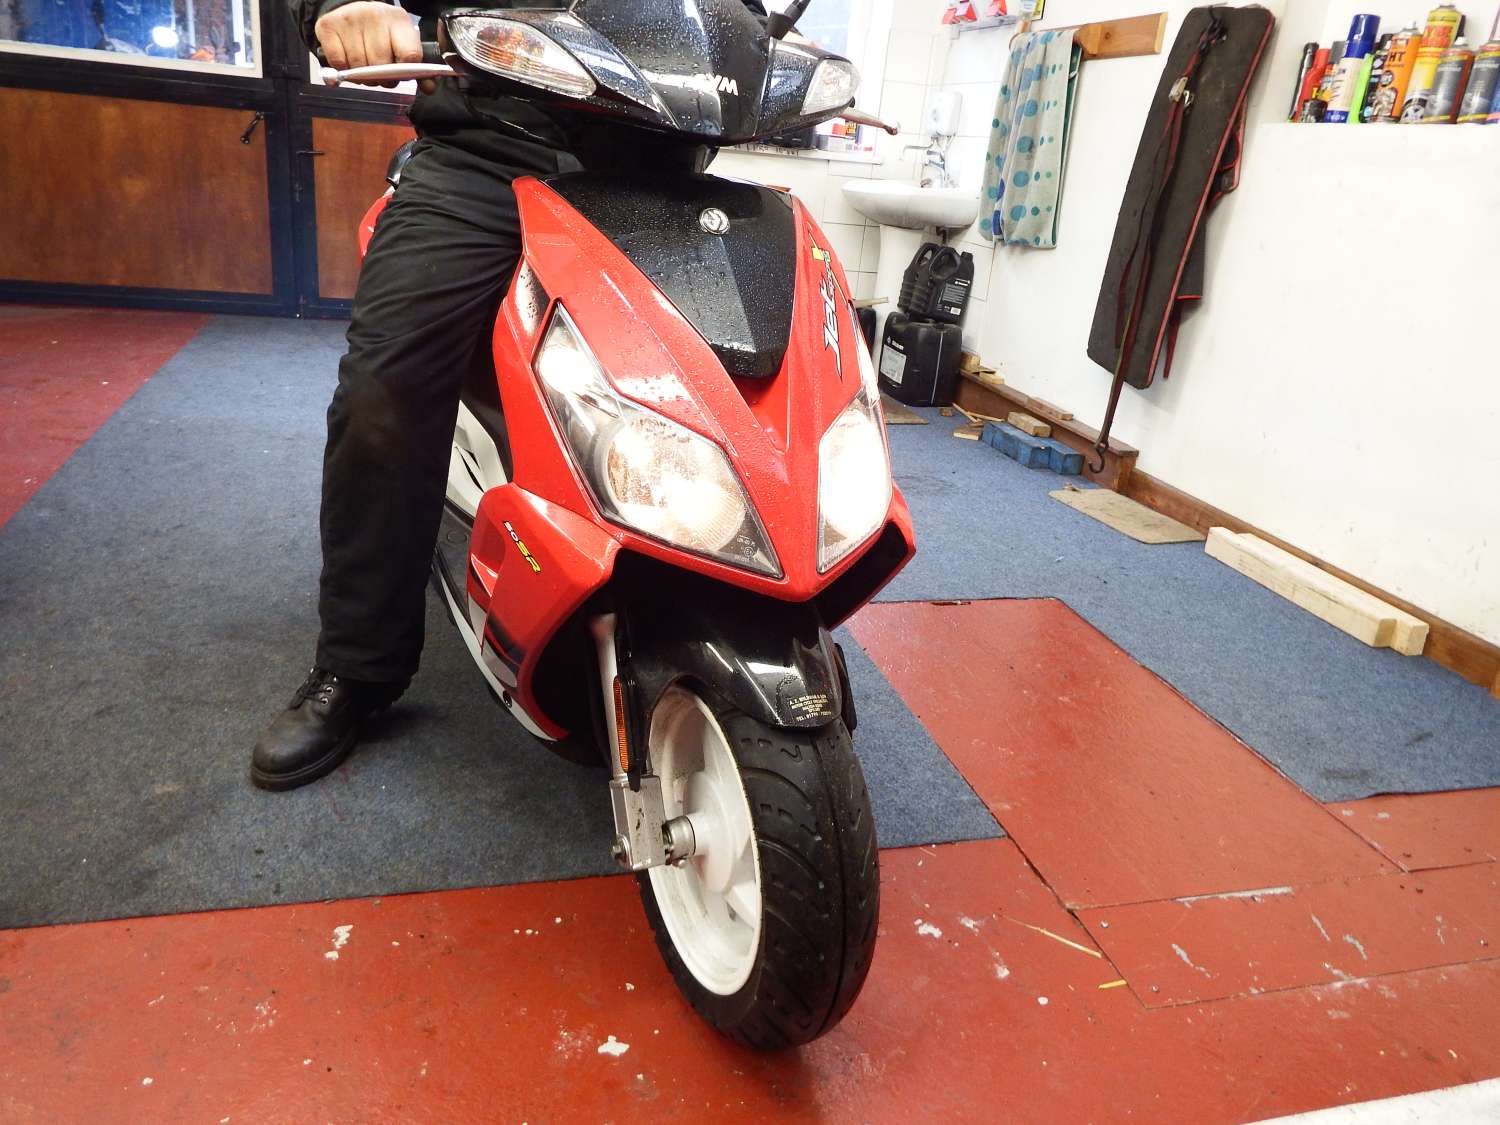
5. An assistant is used to raise the front wheel while the examiner spins the front wheel. They use a torch to look at the rim and the tyre – they’re checking that the tyre is seated to the rim and listening for noisy wheel bearings.
6. They also check the tyre side wall for cuts, lumps, bulges, tears or exposure of the ply cord. They check the rotation, tread depth and for any faults – on both sides of the tyre. The wheel bearings are checked for play and spoke tightness checked.
7. The brake pads and discs are checked. The security of the caliper is also checked. By holding the front brake on, the brake pipes are checked. Binding brakes are tested for by then spinning the wheel. They also test the steering and head bearings by checking play lower down the wheel.
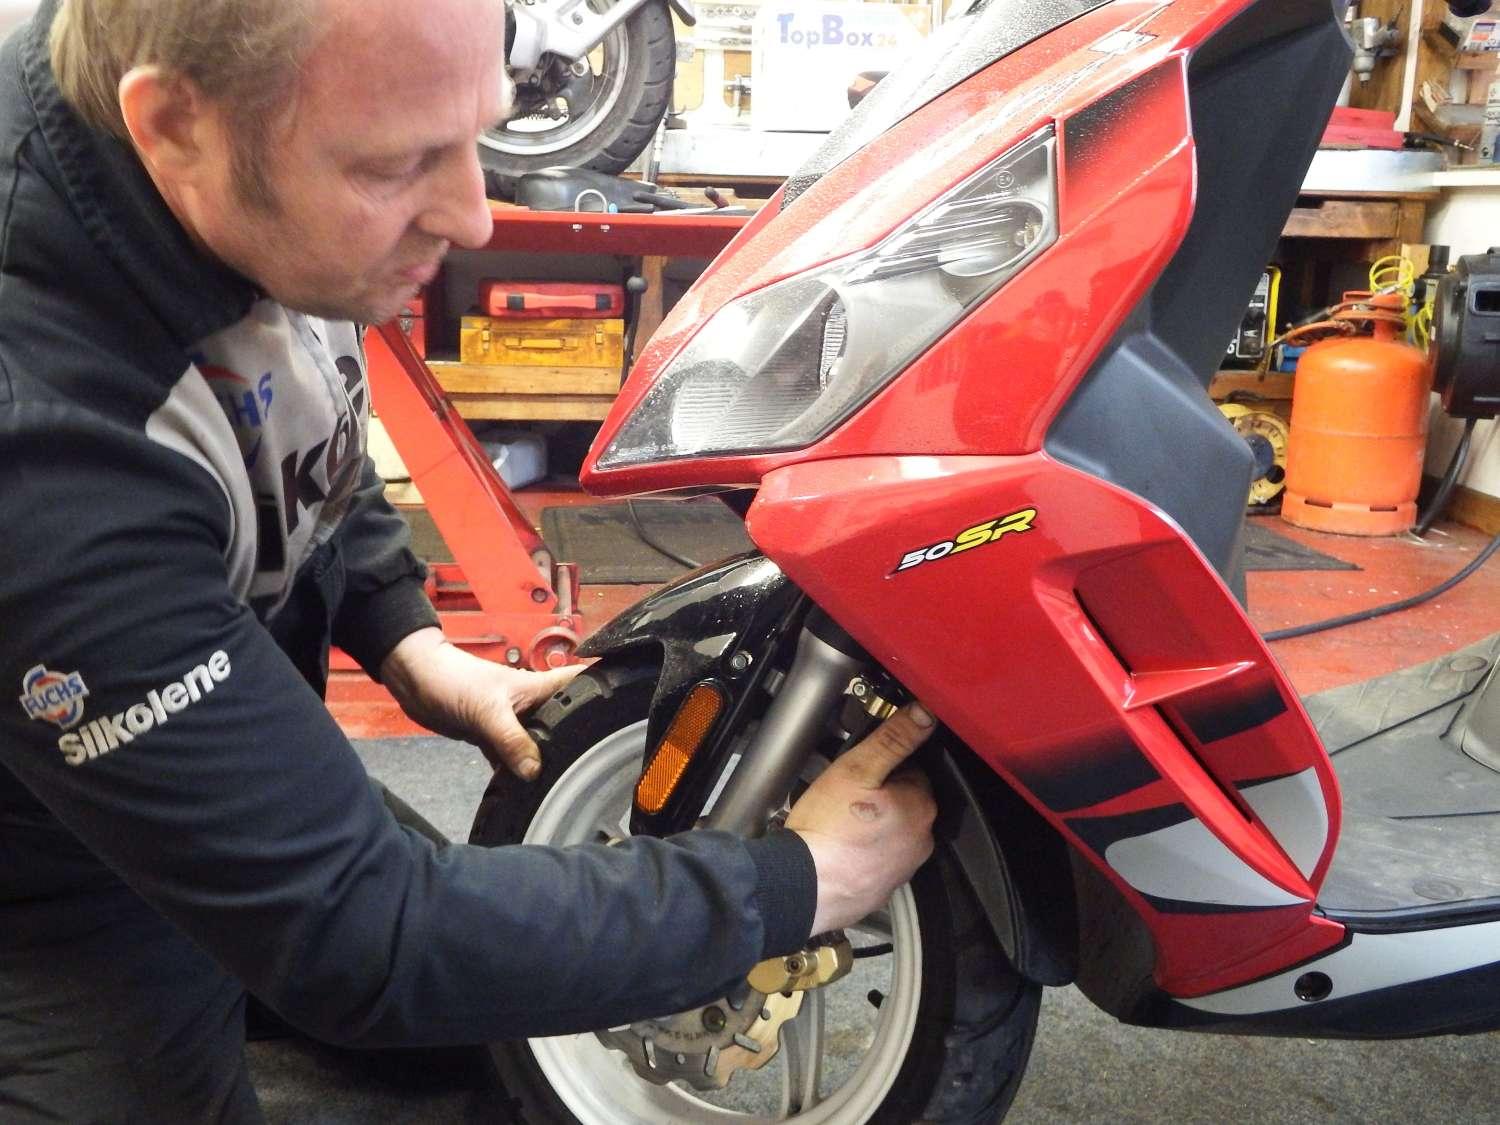
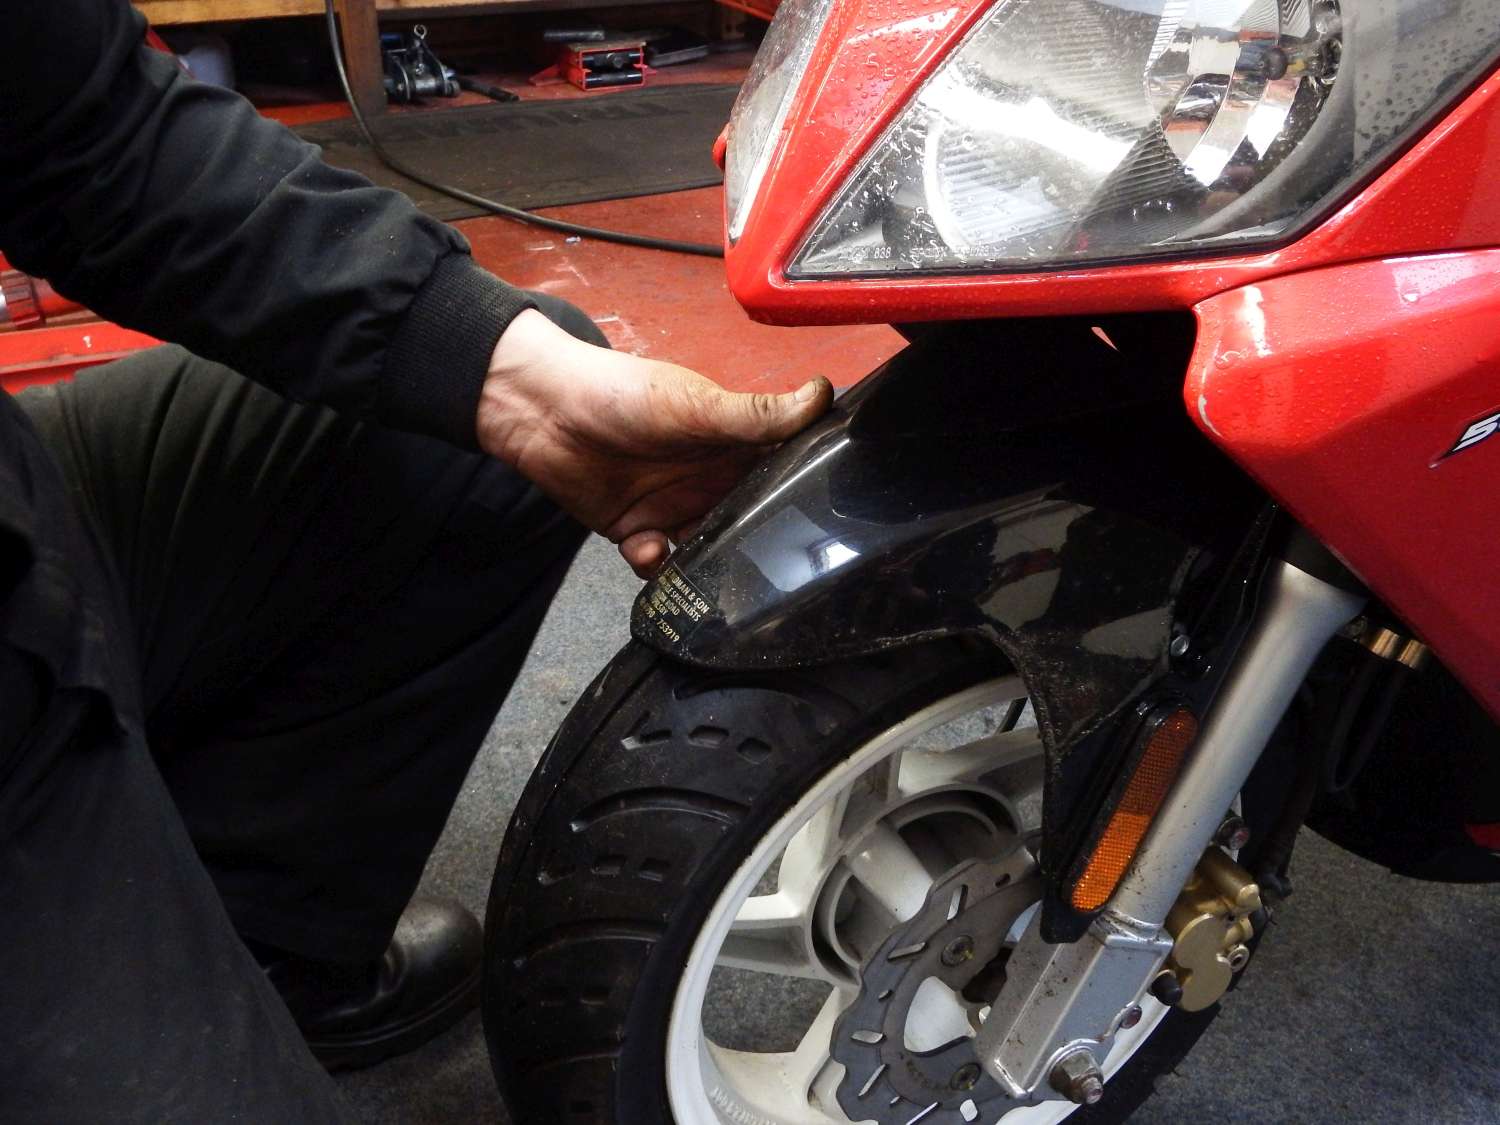
8. The tester then checks the mudguard security and the pinch bolts in yokes by standing with the front wheel between their knees and trying to twist the handlebars.
9. They work their way down the side of the bike to check the frame for cracks and corrosion, petrol leaks under the tank, security of footrests – rider and passenger.
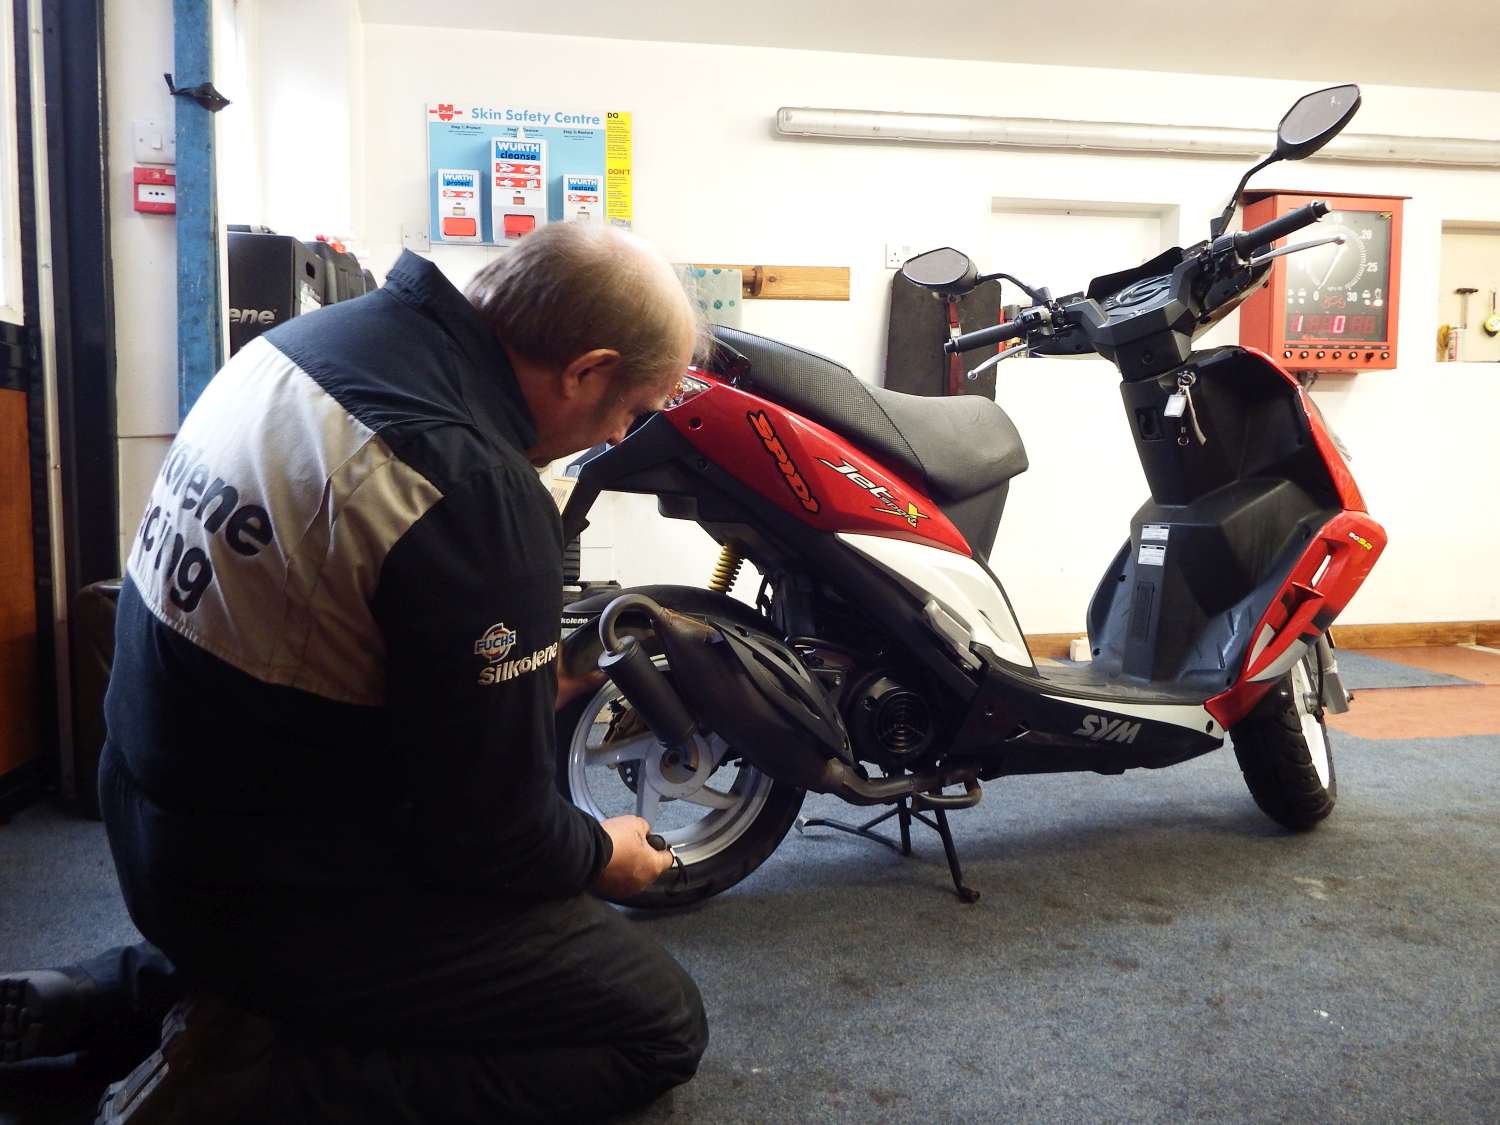
10. Now at the rear of the bike the rear brake pedal and linkages are checked as well as the suspension linkage, rear swing arm and torque arm.The assistant is used once again to raise the rear wheel. The same checks as on the front wheel are carried out as well as the chain and sprockets, chain clip and chain guard.
11. The tester then works their way around the other side of the bike, working their way back to the front checking footrests, frame for corrosion, checking for petrol leaks and checking the security of the seat and tank.
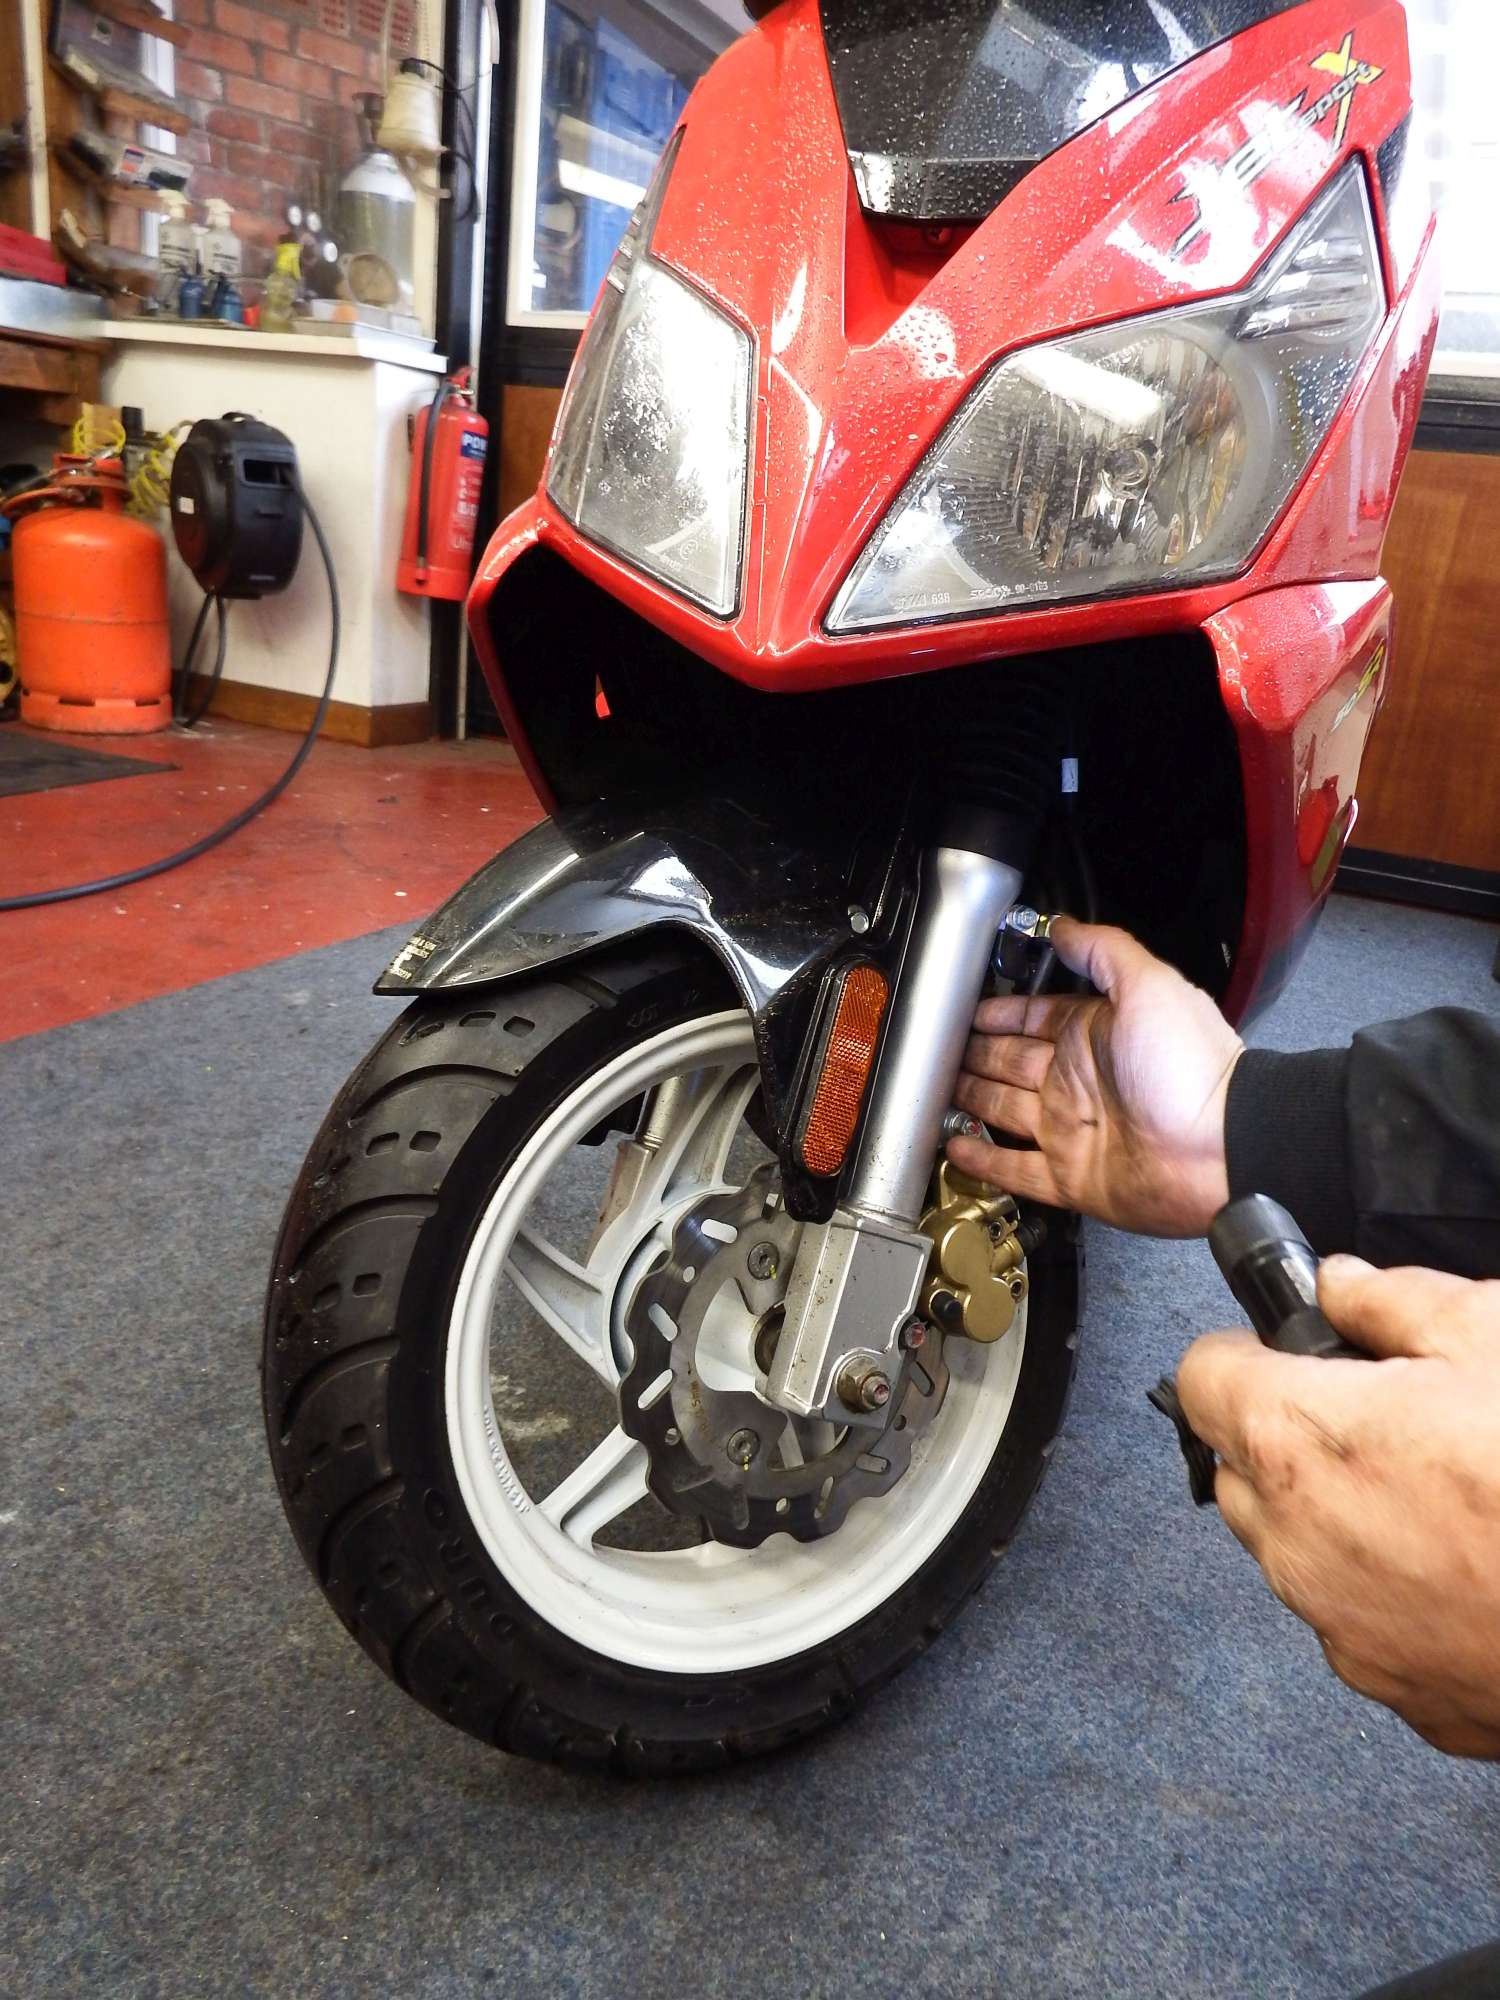
12. It’s then time to test the suspension – the tester depresses the front suspension and looks for leaking fork seals and leaking.
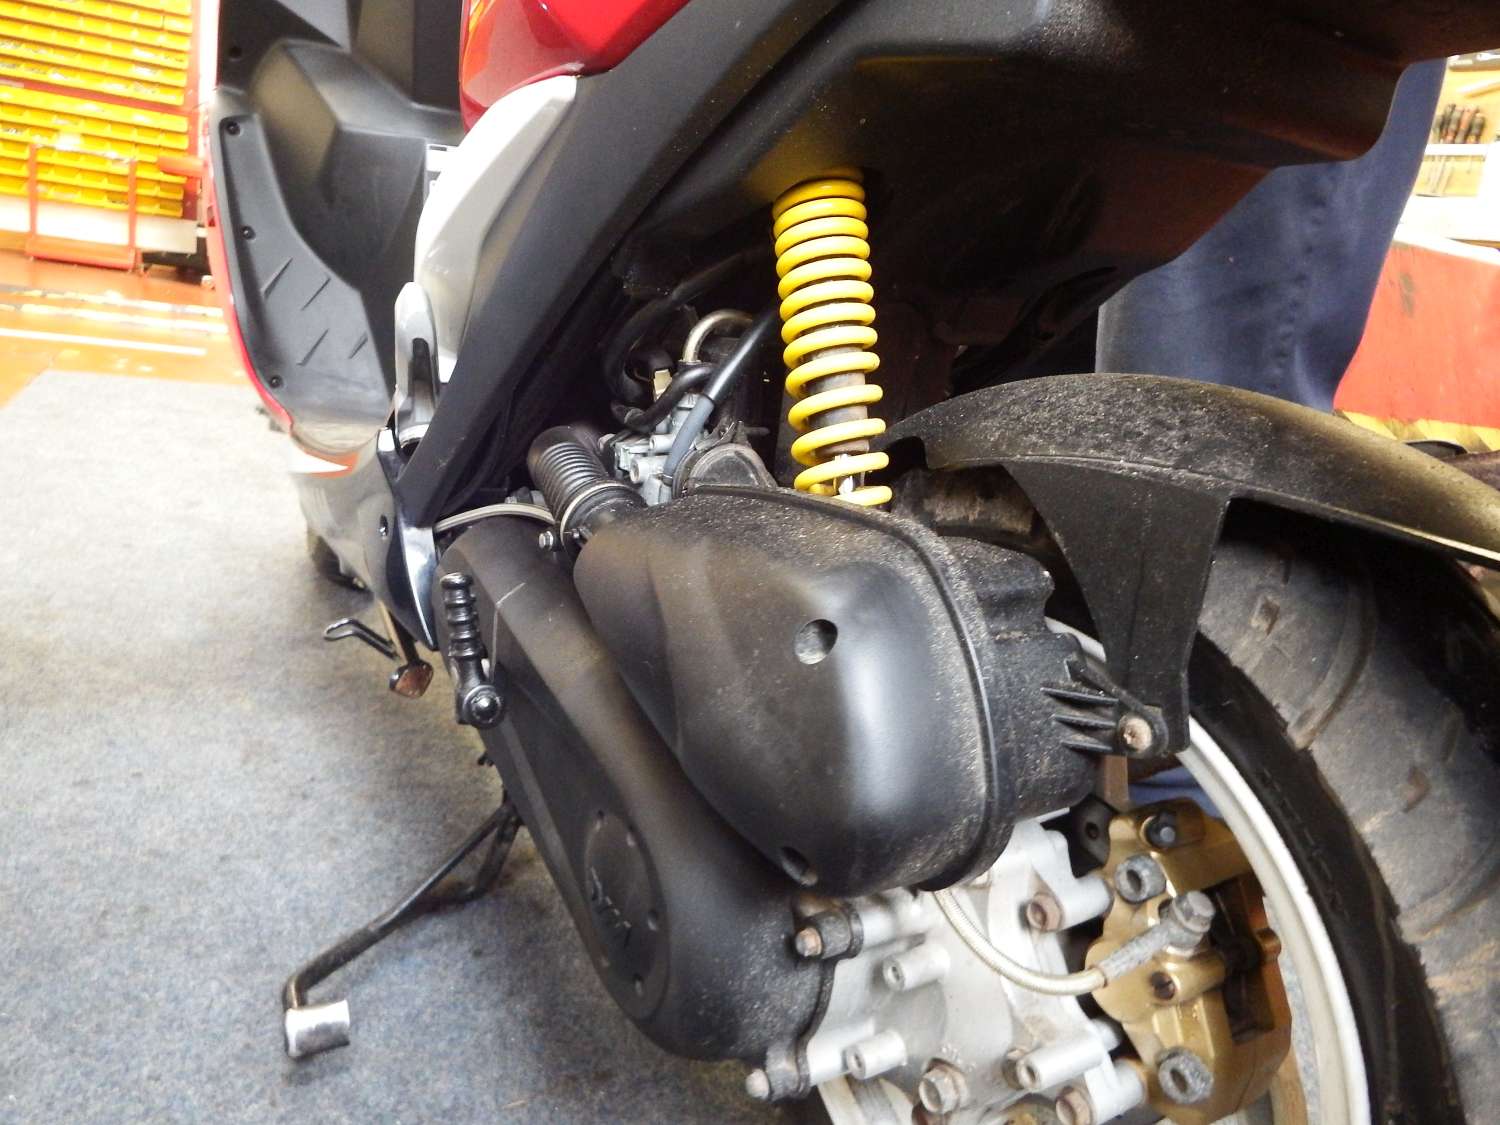
13. The rear suspension is bounced and the rear damper is checked for leaks by inspection with a torch.
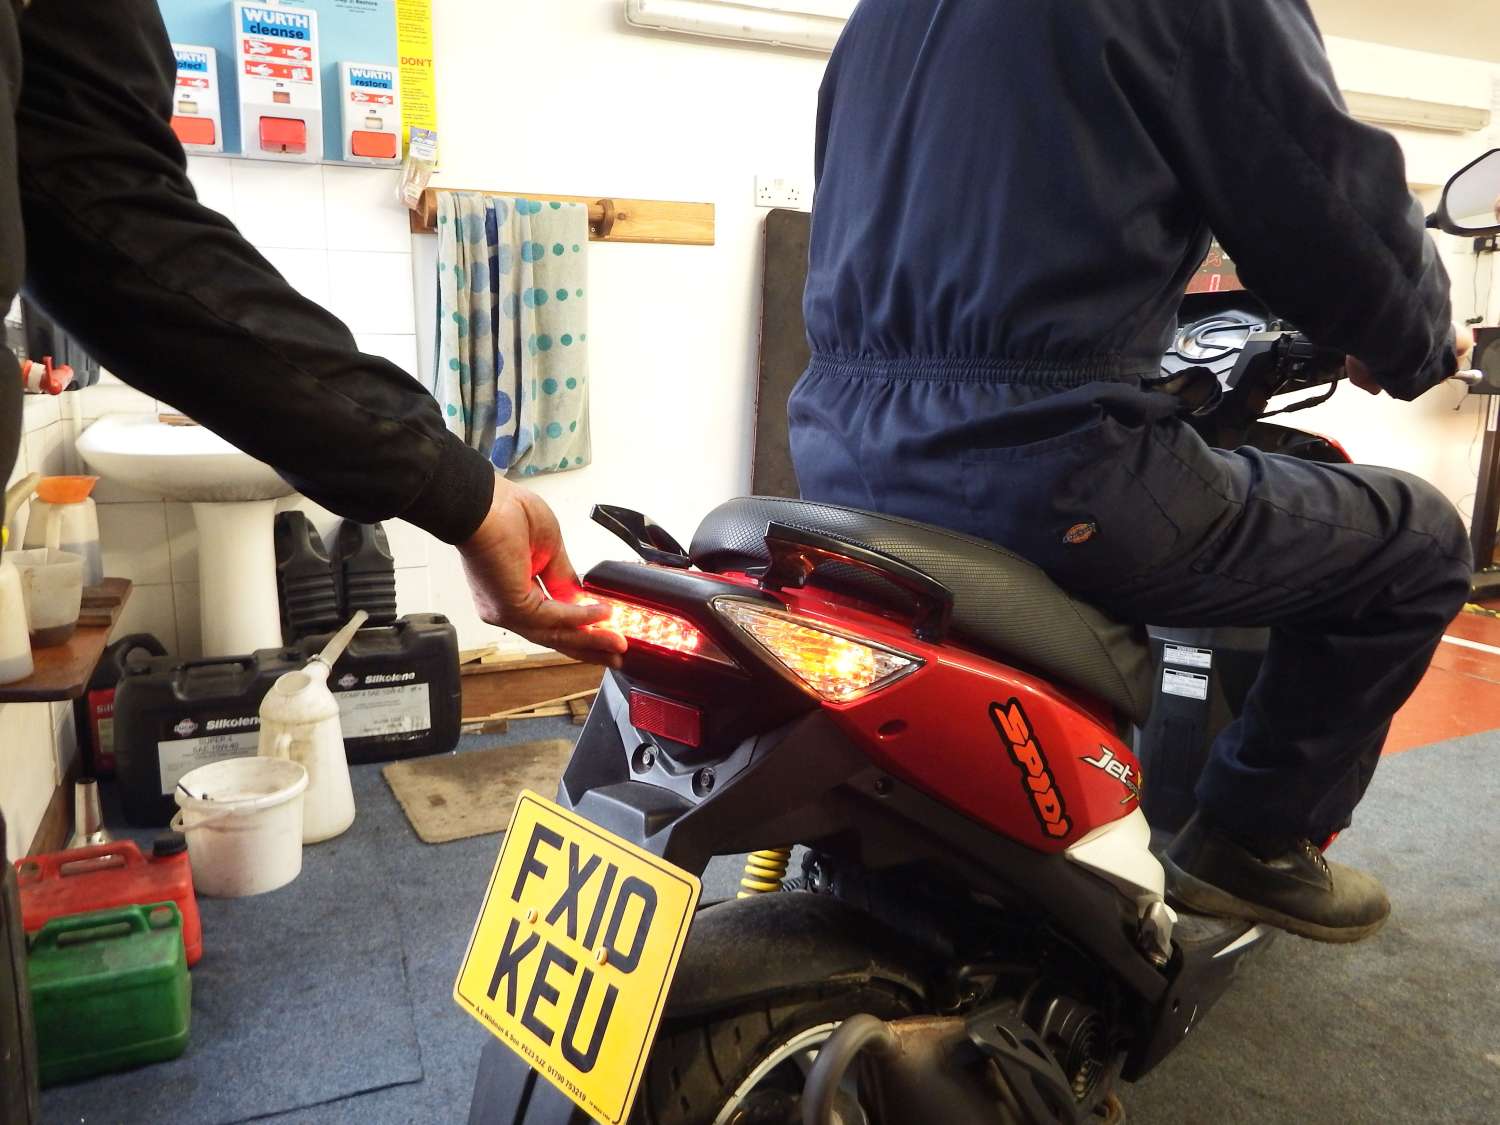
14. The assistant sits on the machine and turns on the ignition:
a. Work left hand indicator, horn at the same time, check security of indicators.
b. Work right hand indicator, horn at the same time, check security of indicators.
c. Front brake light indicators & horn at the same time.
d. Rear brake light indicators & horn at the same time.
e. Check rear light.
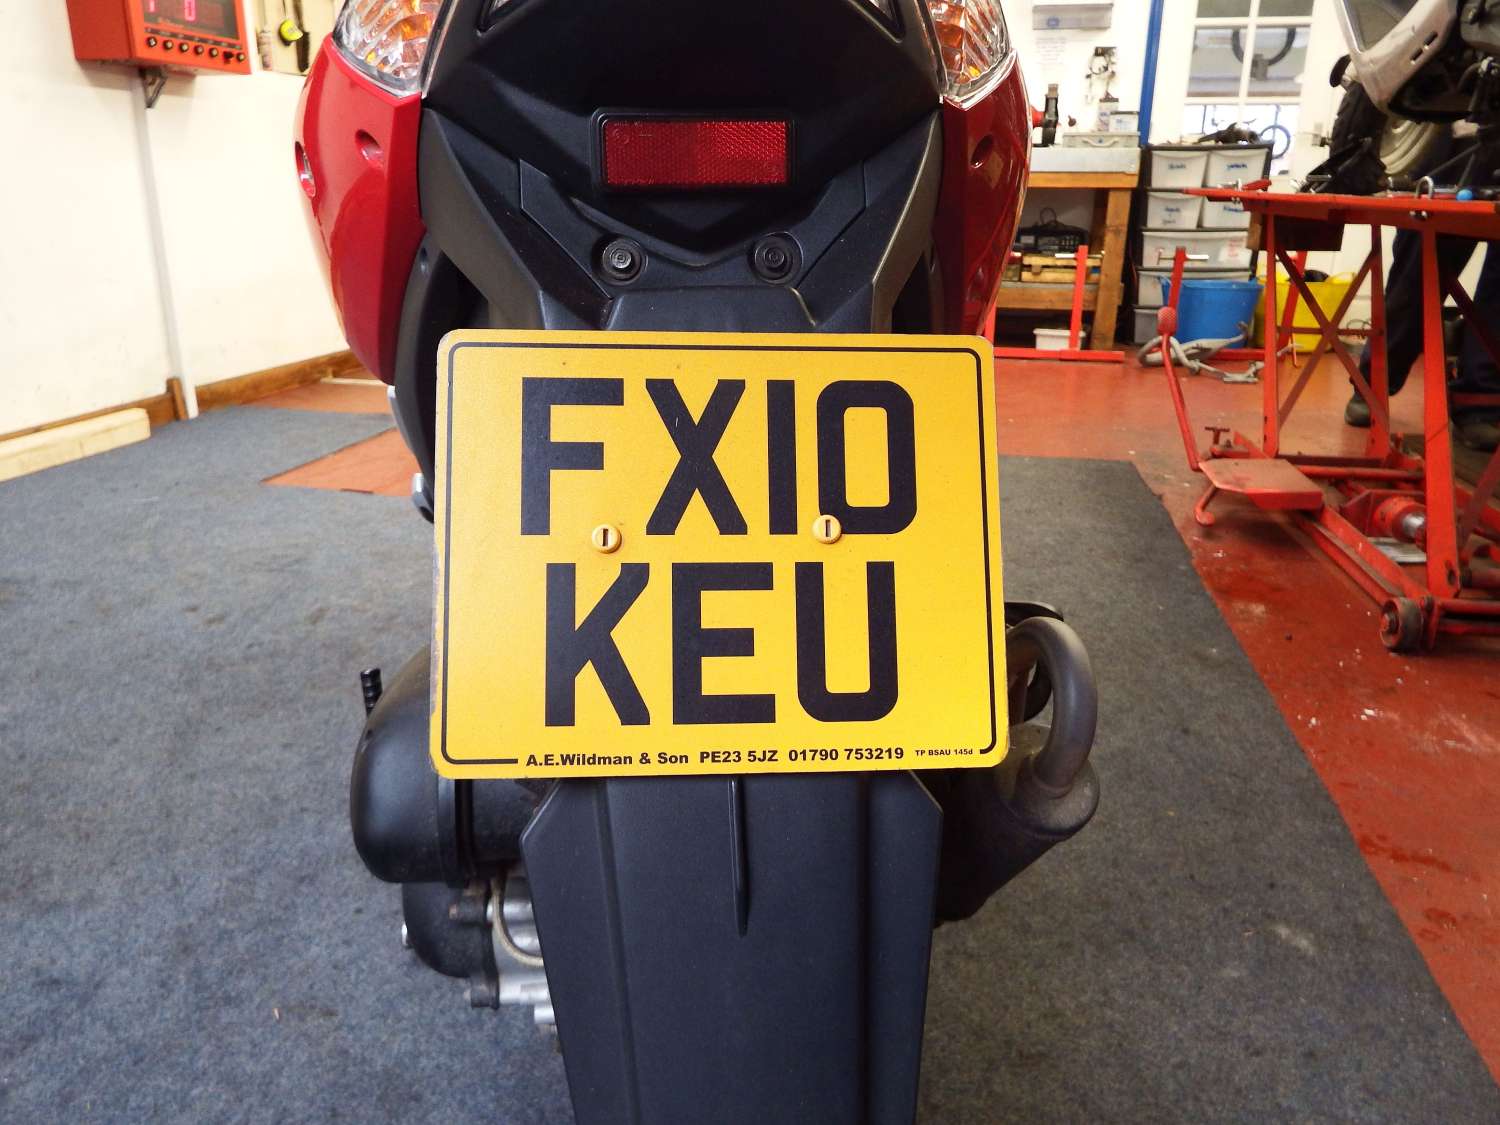
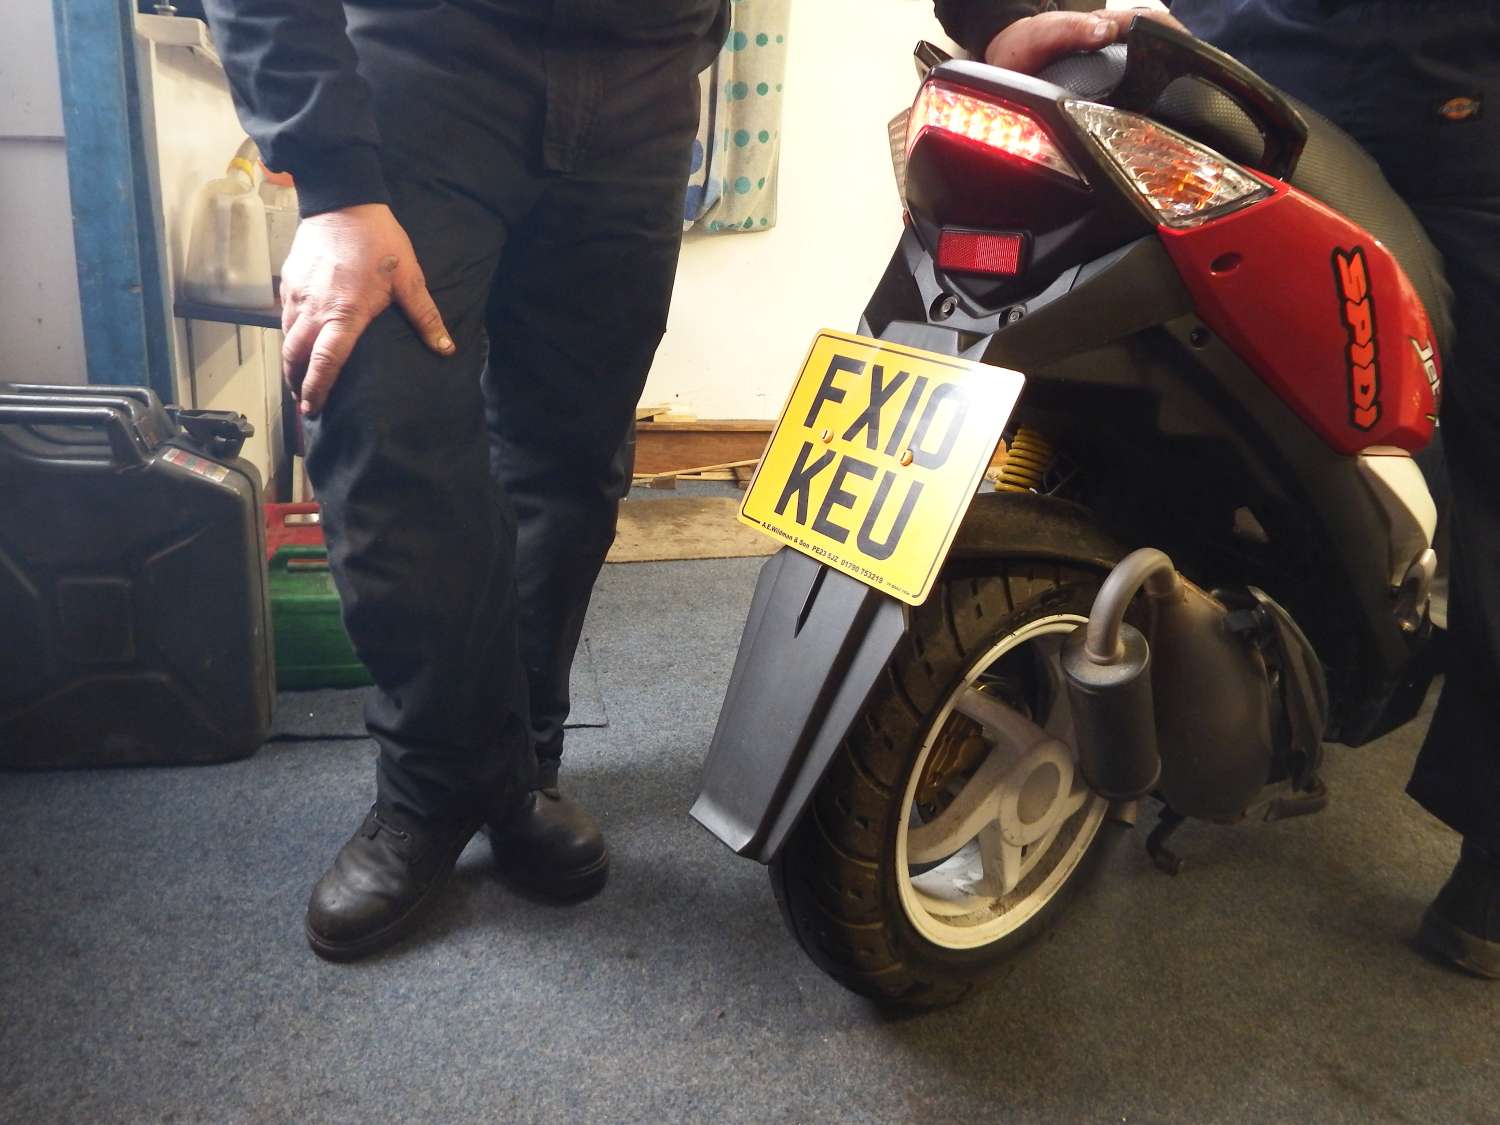
15. The number plate size and lettering is checked and whether the rear reflector is in place.
16. Head lamp security – high & low beam.
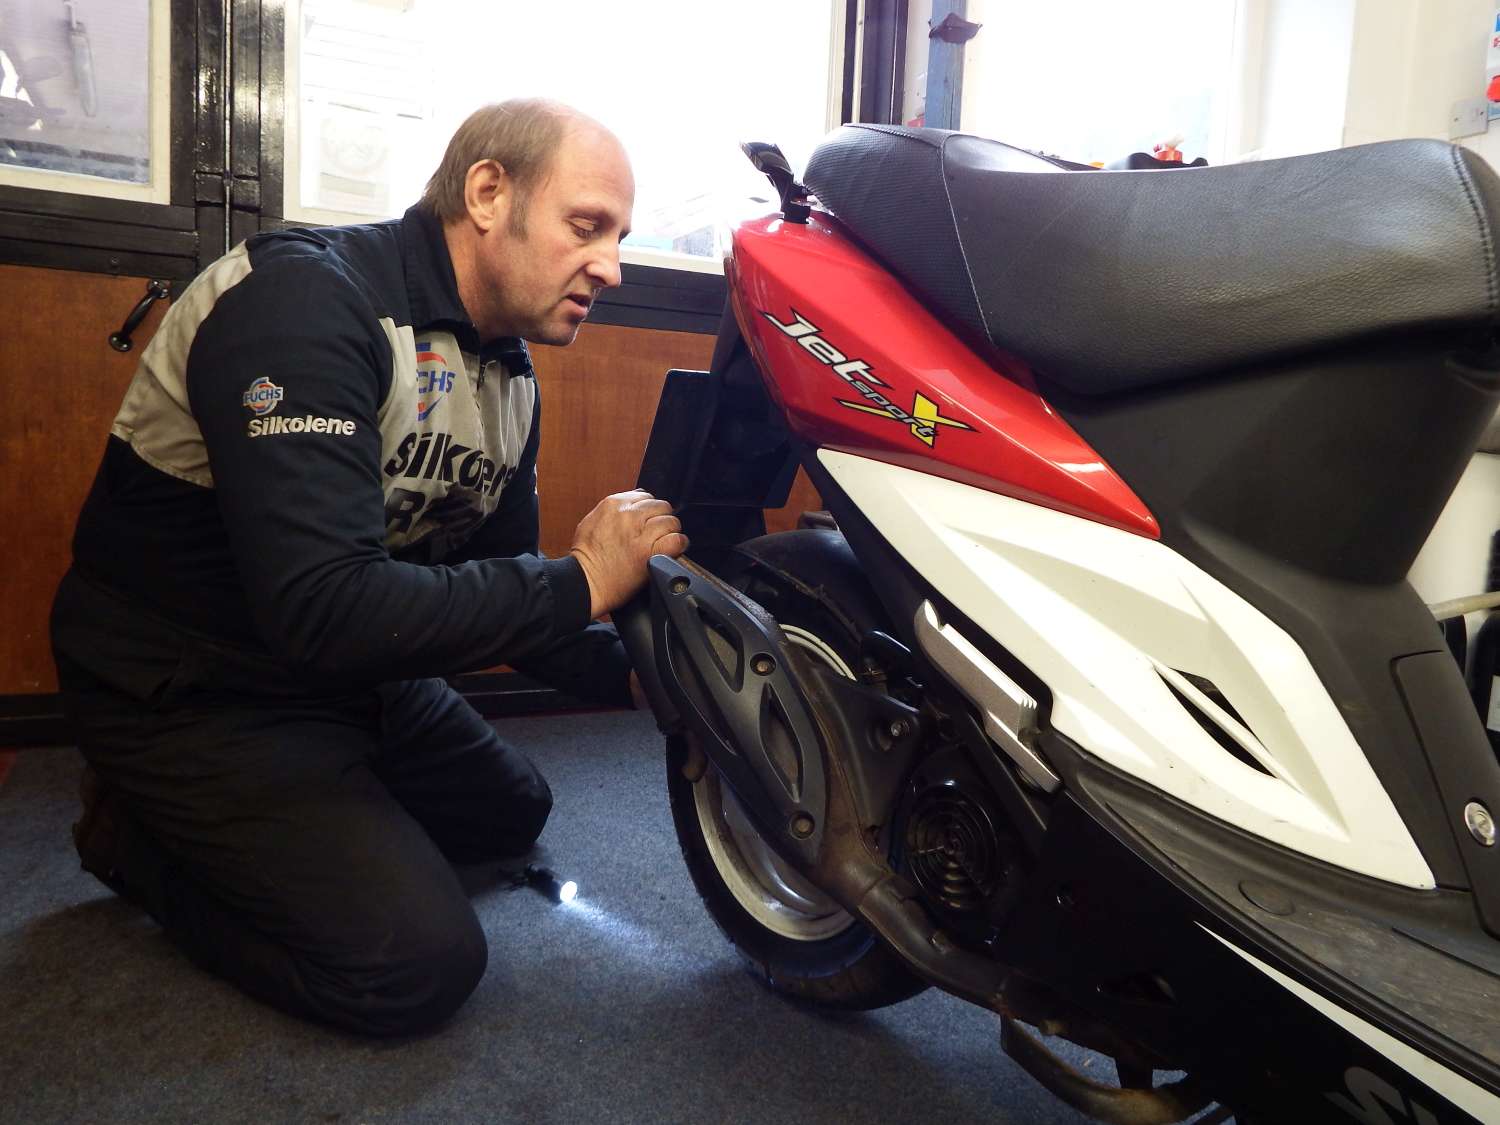
17. The bike is started up and the exhaust is checked for leaks and security. The handlebars are turned from lock to lock, making sure that it doesn’t rev up. The tester also looks out for petrol leaks when running.
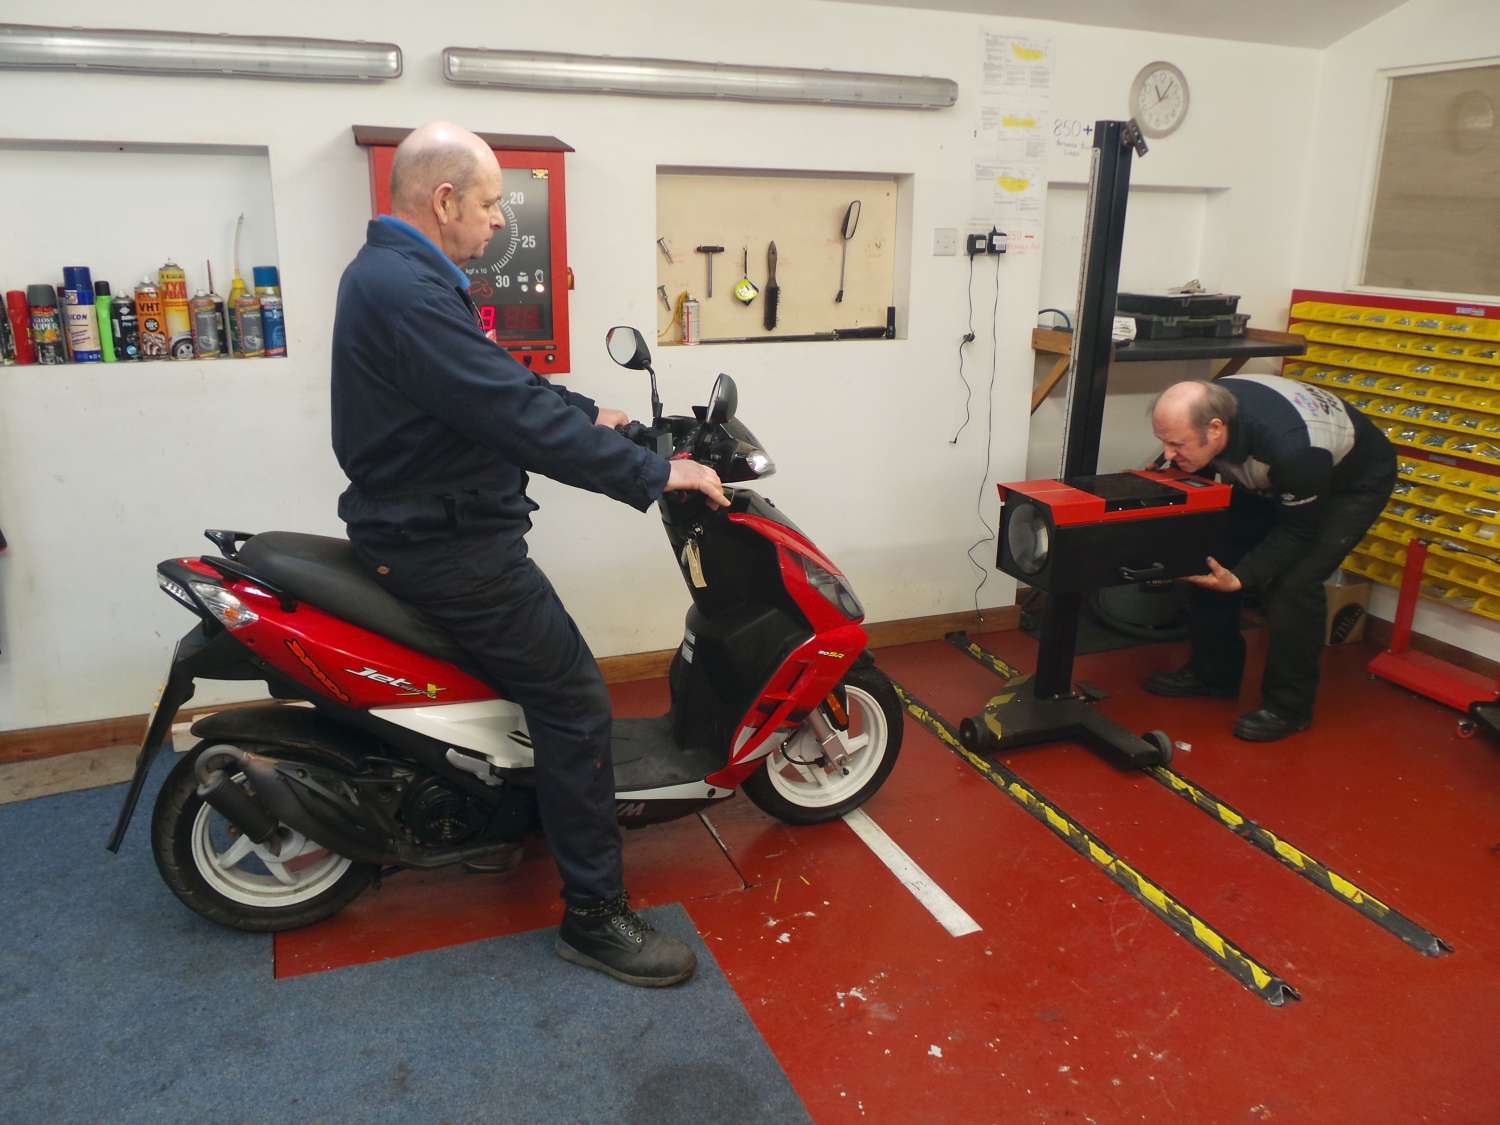
18. The assistant sits on the machine and the headlight aim is checked using a machine.
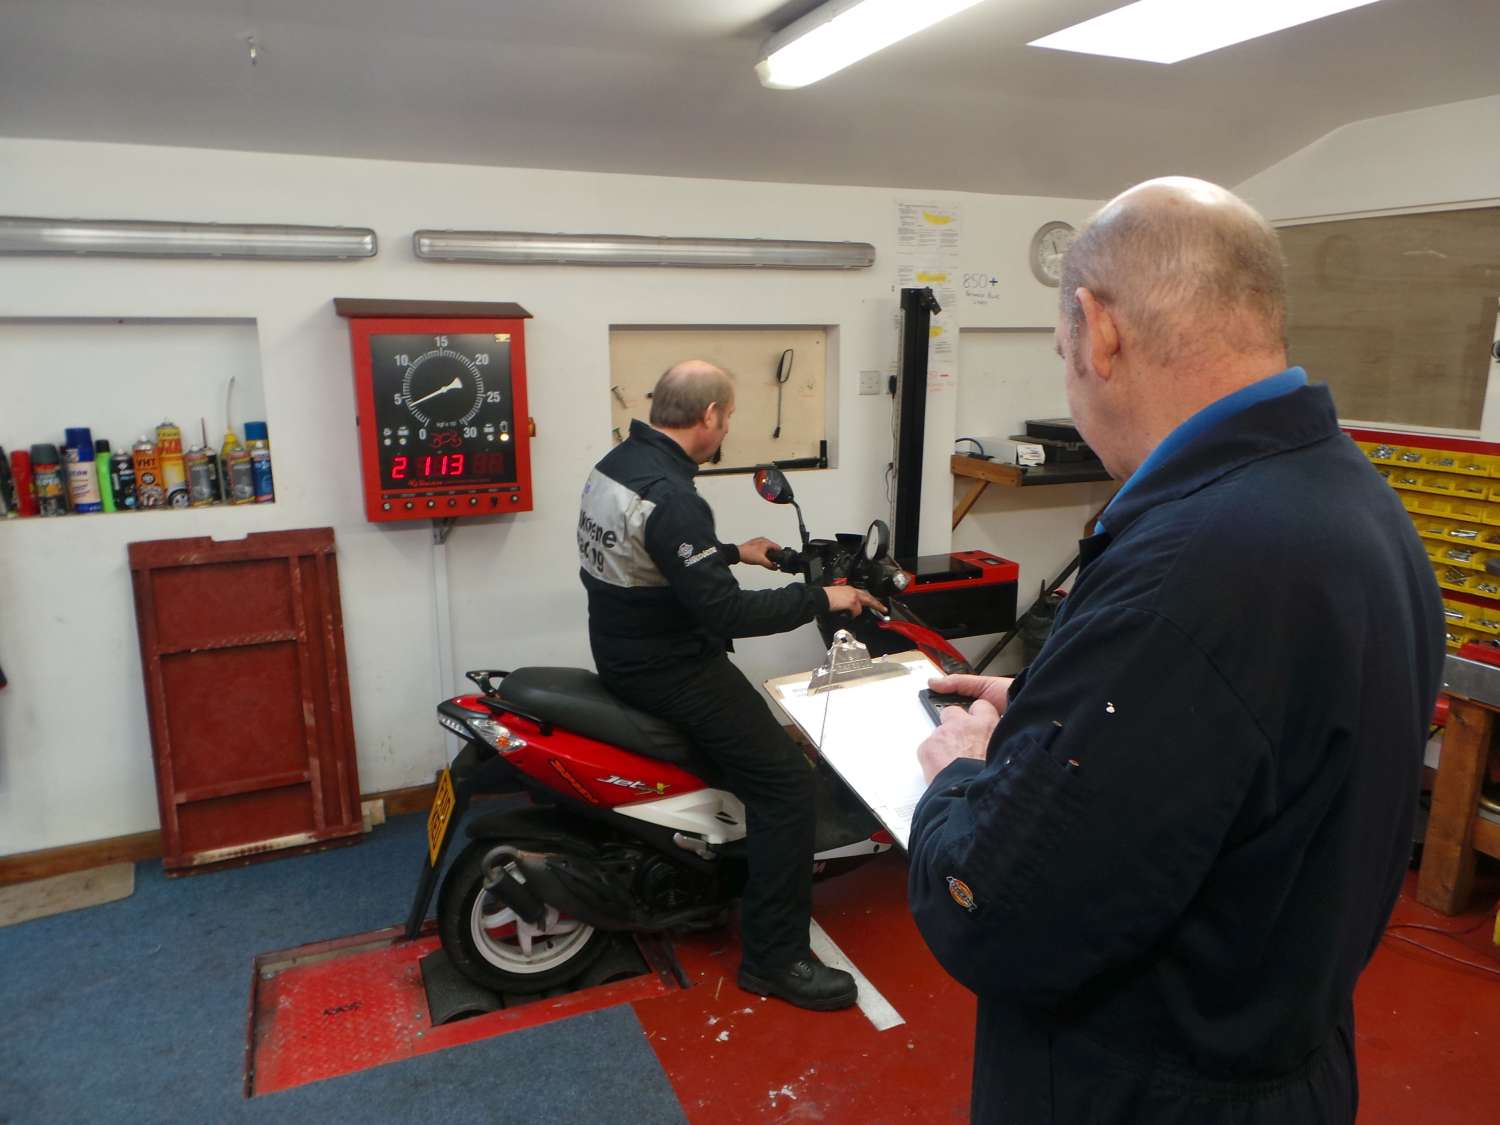
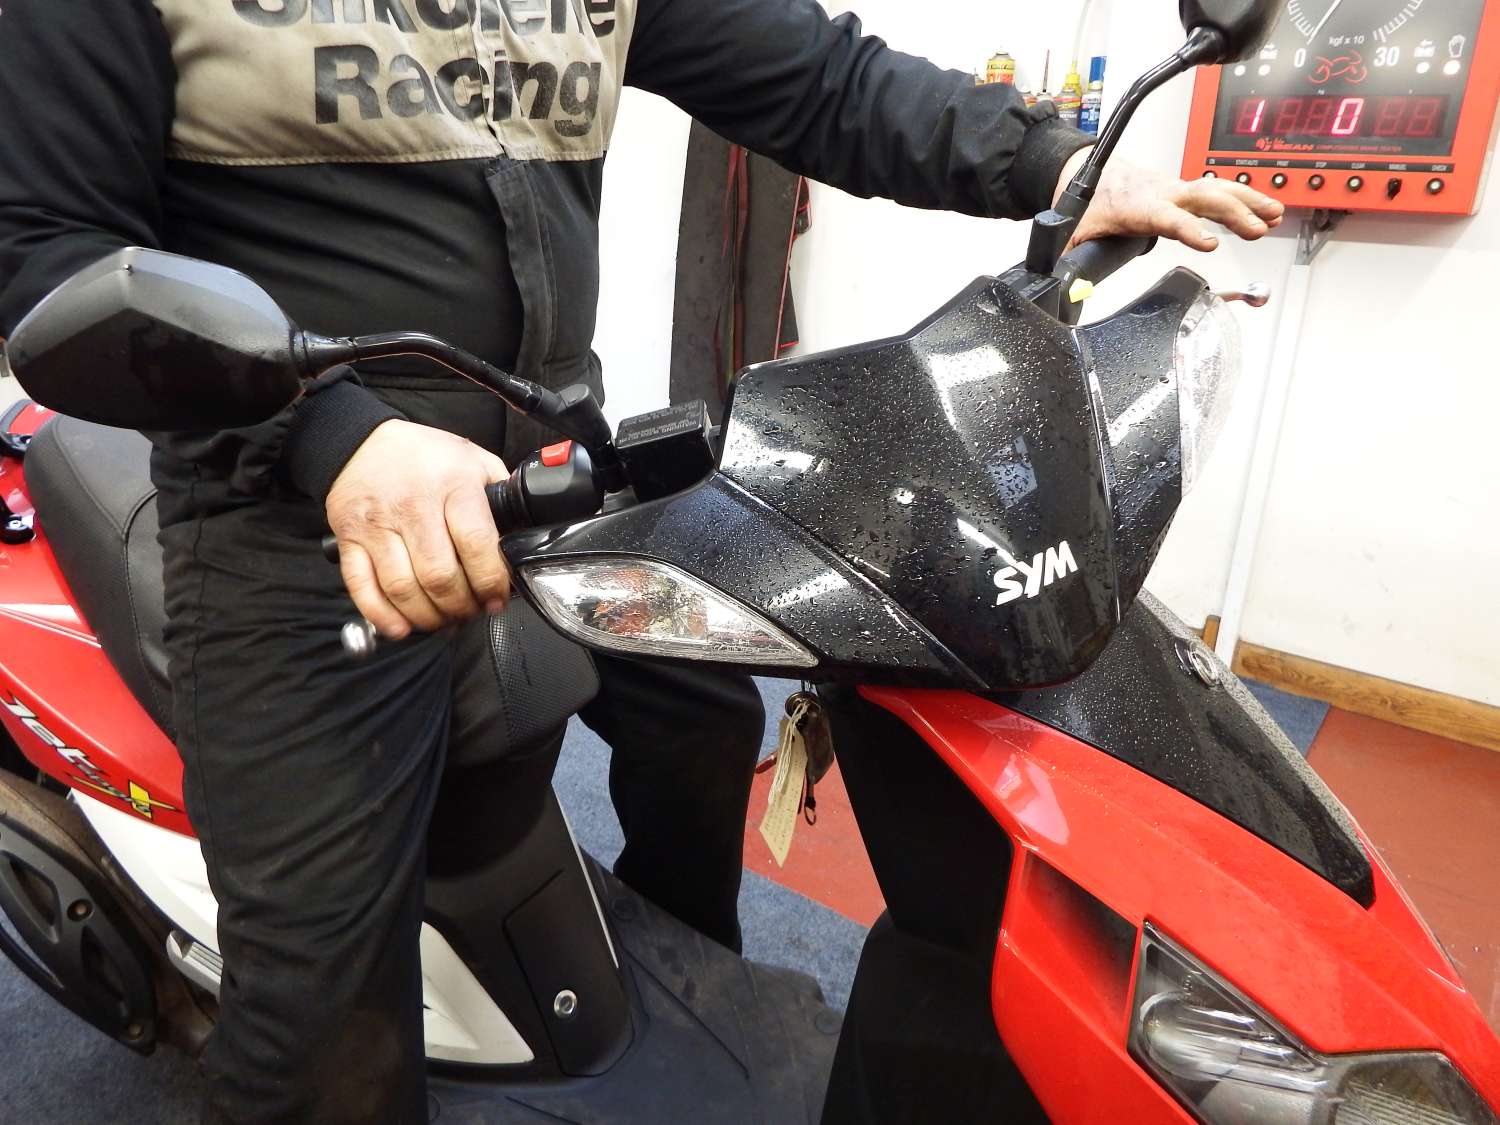
19. The machine is then placed on a rolling road and the brakes on the front and rear checked.
20. Wheel alignment is checked using straight edges.
The details from the test are entered into the computer and a certificate printed off – with advisory notes if applicable.
Bear in mind, the order in which the steps are carried out may differ in each garage and depending on your type of machine, there could be additional checks but all elements should be checked.
Did you know…
If you want to watch your MOT take place – you can. MOT garages are obligated to have a safe and accessible ‘viewing area’ where customers are able to watch the process.
Top 4 tips for passing first time
- Wash it – not only does it give a good first impression to the tester, it will enable them to see things easily – plus they can refuse to test it if it’s caked in mud.
- Do a few at home checks – get that faulty bulb and bald tyre replaced before you even take it in.
- Check your advisory notes from your previous MOT – if you haven’t already had the items fixed then it is possible that they might need to be rectified this time.
- Don’t fit aftermarket parts that aren’t road legal – if you know your exhaust is for track use only or your number plate isn’t big enough then don’t risk it.
Number plate regulations
We’ve heard of a few people who failed their MOT because of having an incorrect number plate. They should be made from a reflective material and not have a background pattern on them. Motorcycles registered on or after September 1, 2001, must only display a number plate at the rear of the vehicle. If it was registered before, you can also display a number plate at the front – but you don’t have to. Numbers should be on 2 lines and the letters have to be a certain size – the best bet is to get a ruler and head to www.gov.uk/browse/driving to make sure yours is the right size.
Advert
Enjoy everything More Bikes by reading the MoreBikes monthly newspaper. Click here to subscribe, or Read FREE Online.